Lumen help
Creating an IP VPN Dynamic Connection to Azure Gov
With Lumen® Dynamic Connections IP VPN, you can use Control Center to create a connection from a Lumen VRF to Microsoft Azure Gov. To create the connection, you'll need an ExpressRoute service key from Microsoft. Be sure to have that information handy to type in (or copy/paste).
Note: You can only use a service key that isn't assigned to an active connection. The ExpressRoute service key is a unique service key and is different from the service key for your cloud service from Azure.
To create an IP VPN Dynamic Connection to Azure Gov:
- Click Services.
Control Center shows the Services console. Use the console to access an inventory of your services, check the status of orders, and manage your services.
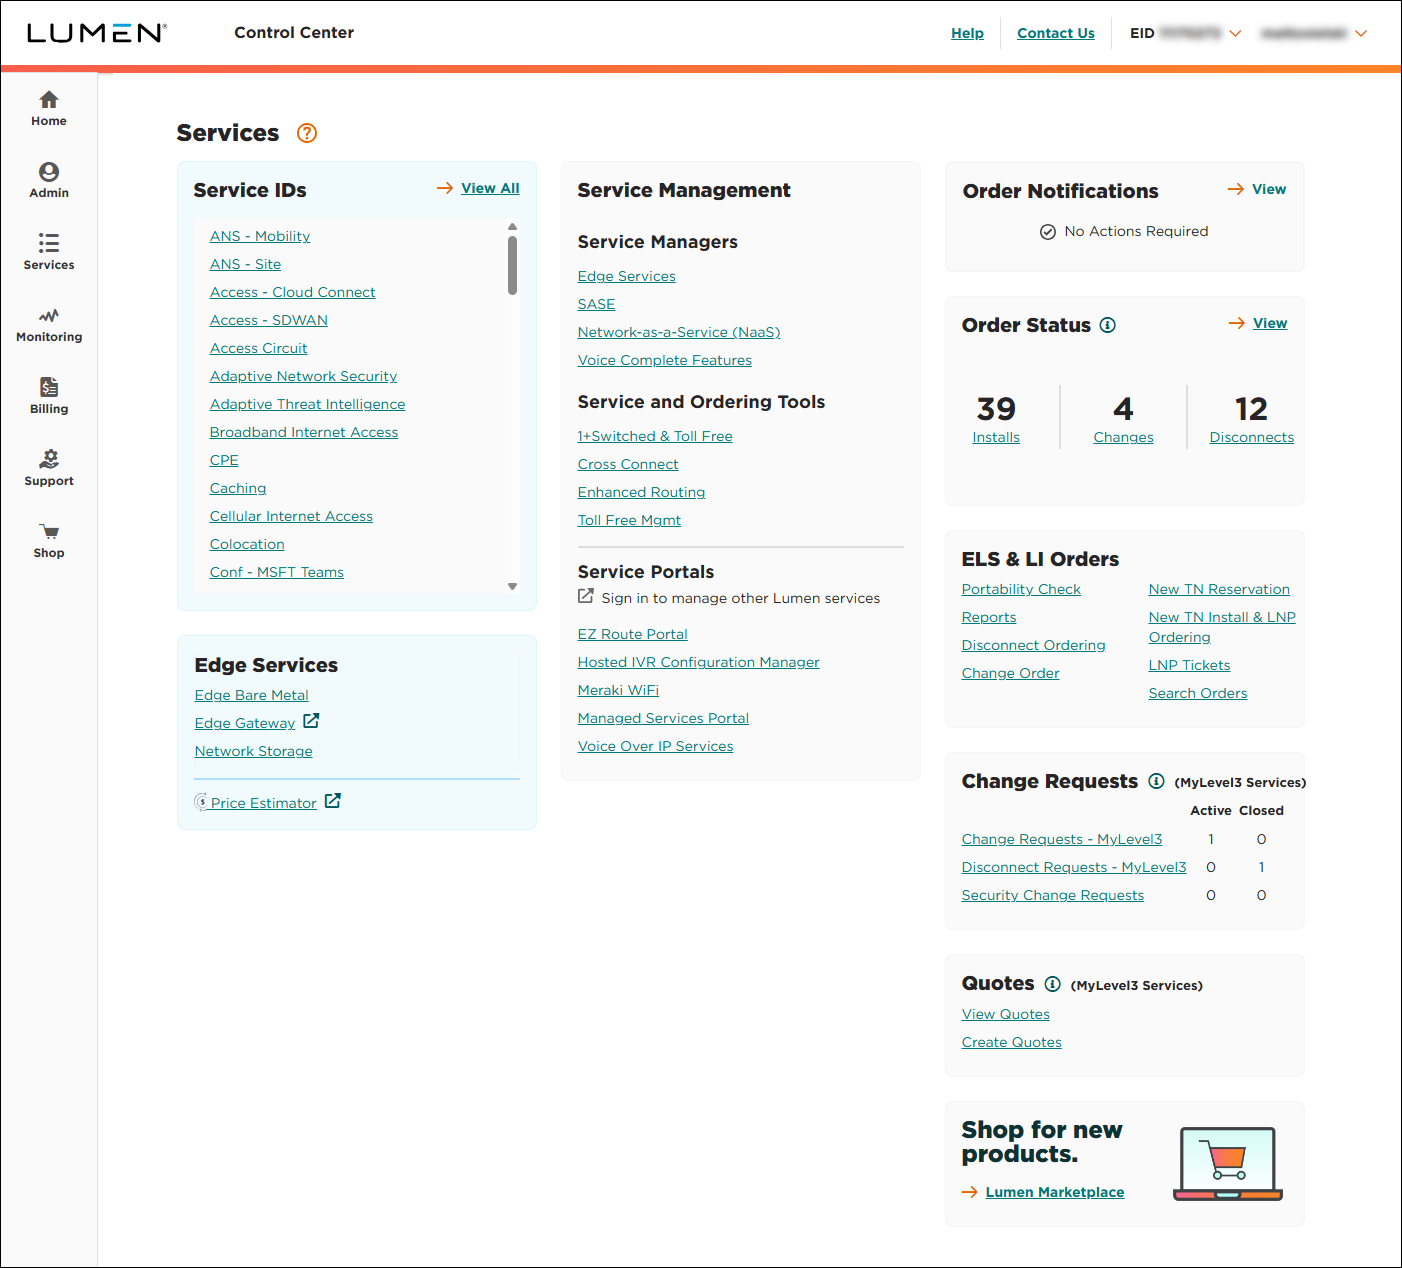
- In the Service and Ordering Tools box, click Dynamic Connections - IP VPN.
Control Center lists all your IP VPN connections with a status and brief summary for each connection (name, location, start/end date, and connection status).
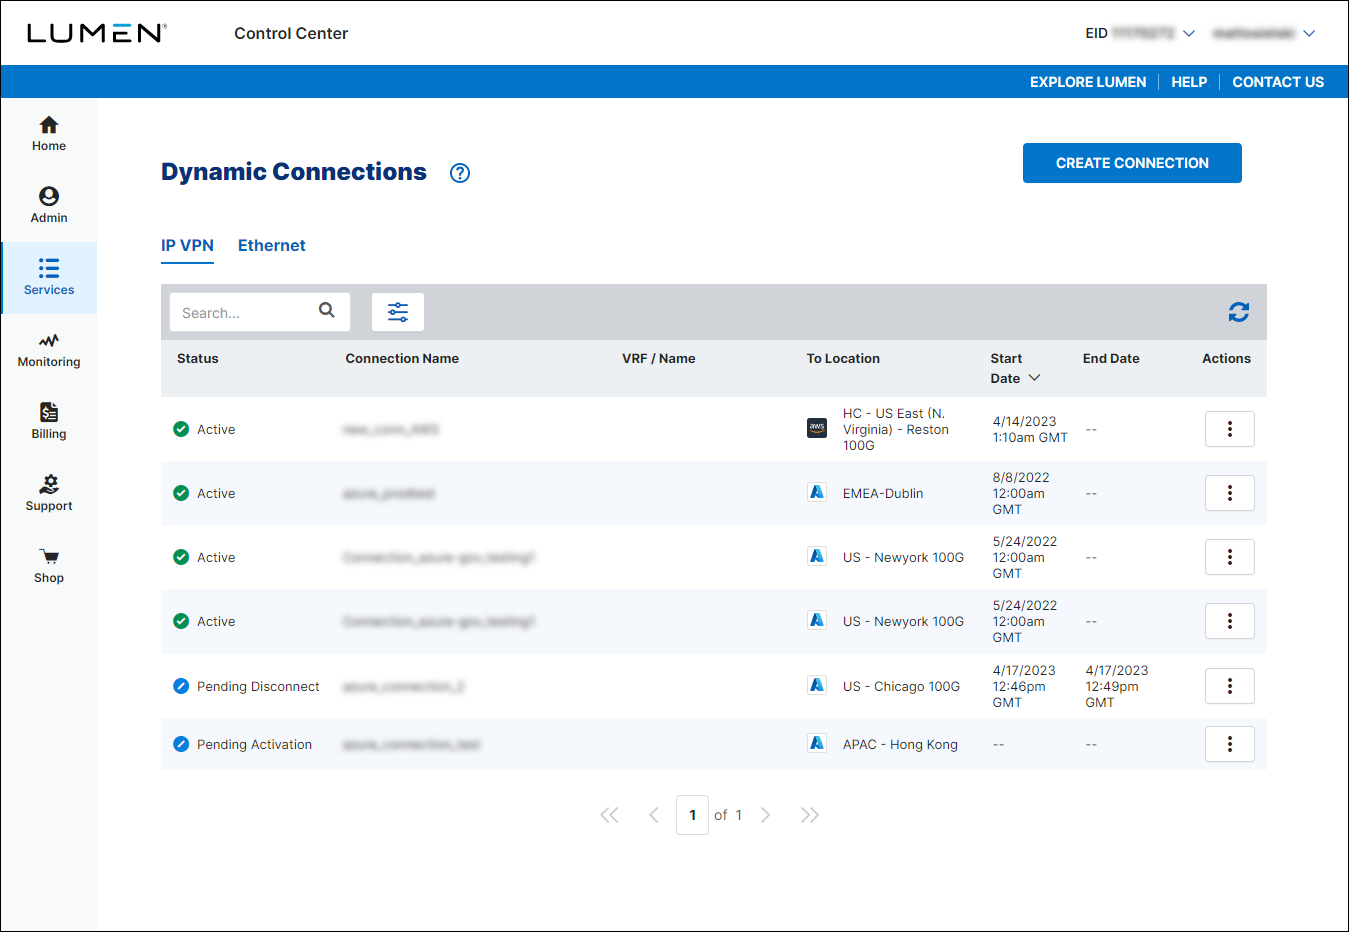
- Click Create Connection.
- From the Customer ID and Billing Account Number lists, select the customer number and billing account number you want to add Dynamic Connections to.
Control Center fills in the WAN Inventory section based on the customer number and billing account number you selected.
- In the Connection Name field, type a name for the connection you're creating. (Be sure to use something memorable. This name will appear on your invoice.)
- From the Cloud Provider list, select Azure Gov.

- In the ExpressRoute Service Key field, type or copy and paste your ExpressRoute service key provided by Microsoft. (Note: You can only use a service key that isn't assigned to an active connection. The ExpressRoute service key is a unique service key and is different from the service key for your cloud service from Azure.)
Once you fill in the ExpressRoute service key, Control Center retrieves connection information from Microsoft and fills in the on ramp information.
- In the WAN Inventory section, select a VRF for the other end of your connection. (If there are no available VRFs for the customer number and billing account number you selected, click CREATE VRF, then type a description for new VRF (in the VRF Description field). Control Center will create the VRF when you create the connection.)
- Use the Billing Method buttons to select whether you want monthly or hourly billing for the connection, then select the bandwidth for the connection. (You can't change the bandwidth once you create the connection. If you need to choose a different bandwidth after creating a connection, disconnect the connection and create a new one.)
- In the Connector Details section, fill in the additional details for the connection. (Control Center automatically the connection as private and sets 12076 as the AS number for Azure Gov.)
- In the Routing Option field, select the radio button for the routing option you want to use for the connection. Learn more about routing options for an IP VPN connection
- Use the buttons to select whether you want to advertise default routes and whether this is a primary or backup connection.
- In the Routing Option field, select the radio button for the routing option you want to use for the connection. Learn more about routing options for an IP VPN connection
- In the Contacts section, fill in the information for the order and technical contacts for your organization. These contacts will receive notifications for order submissions, connection activations, and disconnect requests for the connection:
- Type the contact's first name, last name, phone number, and email address. (Be sure to use the phone number format shown on the screen.)
- In the Notification Preference field, select the preference for how Lumen notifies this contact of progress on your order: email, text, or both.
- If the technical contact for the connection is the same as the order contact, leave the checkbox selected. If the technical contact is different, clear the checkbox, then fill in the information for the technical contact.
- Type the contact's first name, last name, phone number, and email address. (Be sure to use the phone number format shown on the screen.)
- In the Connection Summary box (on the right), read through the terms and conditions, then click the checkbox to accept the terms.
- Click Submit.
Control Center creates the request for the connection, places it in Pending Activation status, and routes you to the connection dashboard so you can monitor the status of the connection. To see status updates, click . Once Lumen assigns the permanent VRF (within five minutes), the connection changes to Active status.
Not quite right?
Try one of these popular searches:
Explore Control Center
Top 10 articles
- Signing in to Control Center
- Retrieving your username or password
- Creating a new user
- Adding accounts to an enterprise ID
- Creating a repair ticket
- Creating a disconnect request
- Deactivating or reactivating a Control Center user
- Editing a notification setting
- Paying an invoice online
- Viewing an invoice
- Topics covered on this page: