Lumen help
Readiness support: Lumen® Dynamic Connections Ethernet
Use this page to learn how to enable Dynamic Connections Ethernet for your Lumen services. Once you enable Dynamic Connections, you can then create and manage connections in Control Center.
Use Dynamic Connections Ethernet to connect
- two of your own locations (e.g., office premise or data-center location)—UNI to UNI
- one of your locations to a cloud service provider (CSP)—UNI to CSP (most common use for Dynamic Connections)
- two cloud service providers (e.g., two AWS workloads)—CSP to CSP
- a cloud service provider to a supported data center operator (e.g., Equinix)
Enabling Dynamic Connections Ethernet
There are several key steps to keep in mind to help minimize delays when getting enabled for Dynamic Connections Ethernet. To avoid unnecessary delays, work with your Lumen account team to ensure none of these are missed:
- If you plan to use UNIs with Dynamic Connections, you need to order a UNI by working with your Lumen representative.
- Ensure that these UNIs are ordered as multiplexed UNIs (M-UNIs). (If the UNI isn't ordered as a multiplexed UNI, you could experience delays using this UNI as part of a Dynamic Connections Ethernet connection.)
- Ensure that the sales team tags the UNI with the Dynamic Connections attribute.
- The sales team must ensure that the UNI is in a location that Dynamic Connections can serve. Not all Lumen M-UNIs can support Dynamic Connections. Your sales team can confirm whether your M-UNI is eligible.
- Ensure that these UNIs are ordered as multiplexed UNIs (M-UNIs). (If the UNI isn't ordered as a multiplexed UNI, you could experience delays using this UNI as part of a Dynamic Connections Ethernet connection.)
- Your order will need to include the $0 Dynamic Connections parent product applied to the same billing account number (BAN) as your UNIs. If you have existing UNIs that can support Dynamic Connections, please make sure your Lumen representative checks to ensure the billing account number for the UNI is the same as the billing account number used to order the Dynamic Connections parent product.
- Work with your Lumen representative to have them submit the portal forms designating your authorized users/admins for Dynamic Connections within Control Center:
- Existing customers: request that your Lumen representative submit the advanced portal permissions request form
- New customers: request that your Lumen representative submit the new enterprise ID request form
- Existing customers: request that your Lumen representative submit the advanced portal permissions request form
- Once the UNI is provisioned, your sales team needs to submit a UNI prequalify and whitelist request.
- Once all of the above has completed, you can create and manage Dynamic Connections using Control Center.
- Once you are enabled in Control Center with any UNIs you require to start using Dynamic Connections, your Lumen representative can engage the Cloud Connect product team to assist with a portal demo.
Creating and managing Dynamic Connections Ethernet
- Sign in to Control Center using the account number and enterprise ID that the parent product was ordered under.
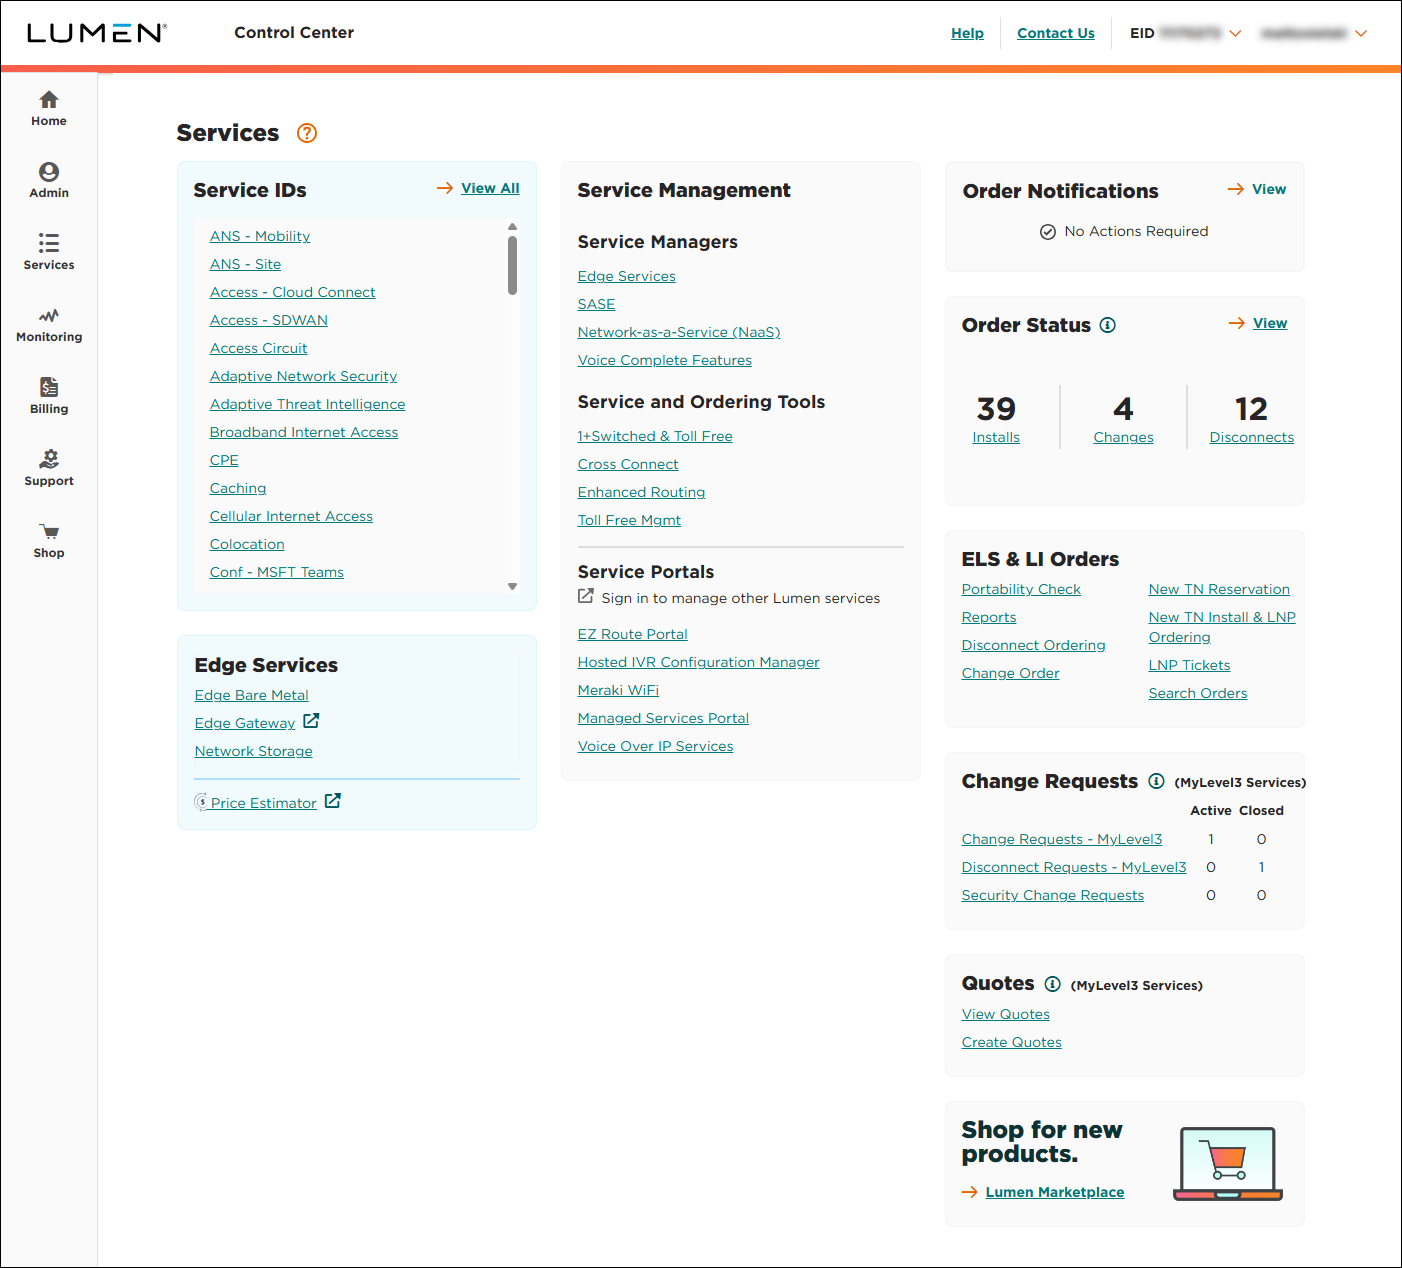
- Click Services.
Control Center shows the Services console. Use the console to access an inventory of your services, check the status of orders, and manage your services.
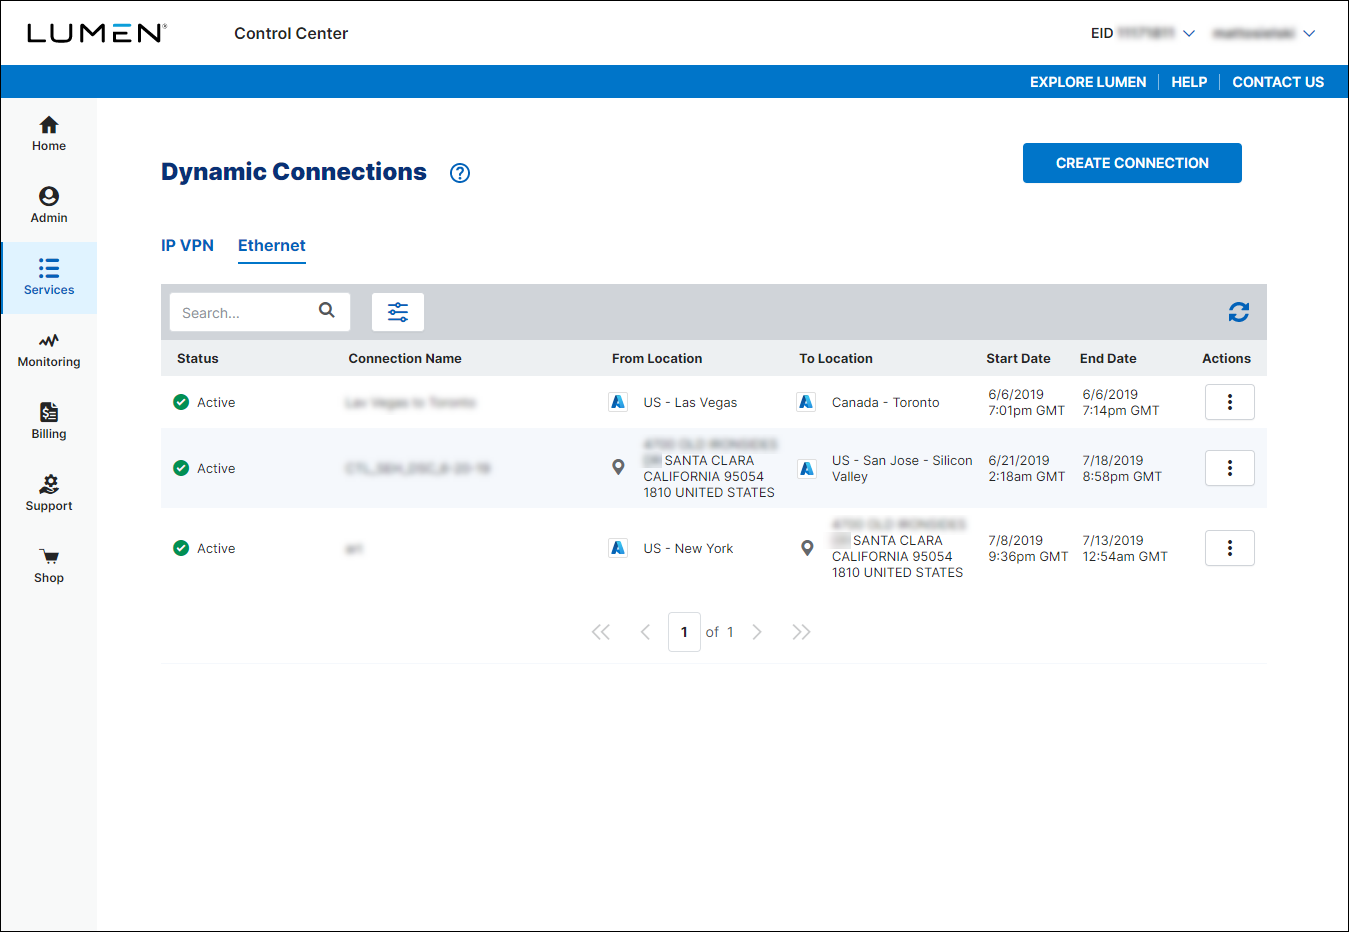
- In the Service and Ordering Tools box, click Dynamic Connections - Ethernet.
Control Center lists all your connections with a status and brief summary for each connection.
- Topics covered on this page: