Making changes to a VoIP Enhanced Local phone number
Using Lumen Connect, you can make changes to phone numbers from a Lumen® VoIP Enhanced Local service.
To make changes to a VoIP Enhanced Local phone number:
- Using the left menu, click Services, click Service Tools, then click ELS & LI Management.
- If you have more than one customer number on your enterprise ID, select the customer number you want to work with, then click PROCEED.
- Click the Change Order tab.
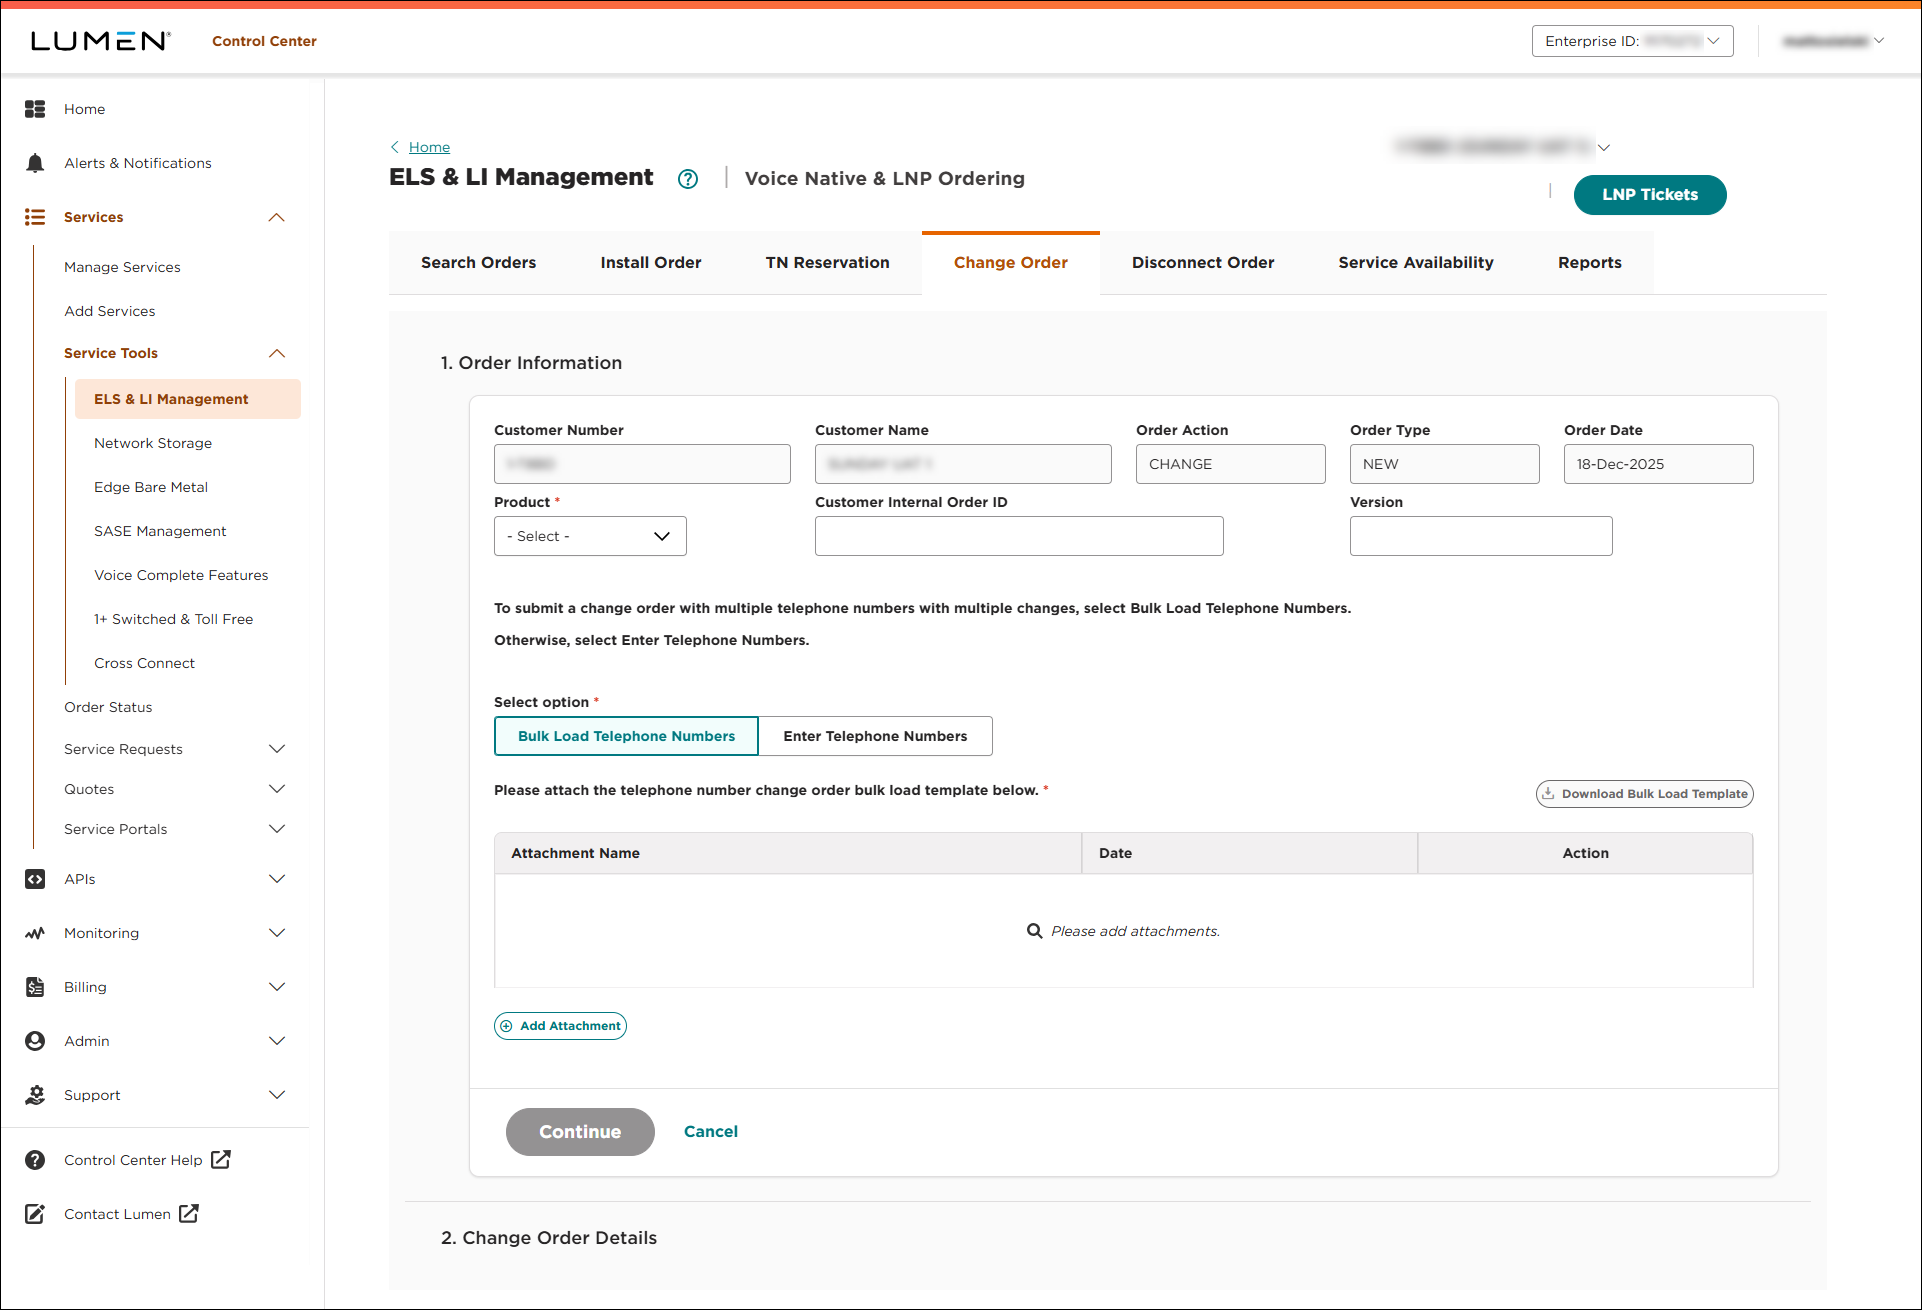
- Fill in the Order Infomation section:
- From the Product list, select ELS.
- If you want to add an internal tracking number, type it in the Customer Internal Order ID field.
- If you want to add a version number to the order, type it in the Version field.
- Do one of the following:
- To type numbers in manually, use the Telephone Numbers field to type the phone number(s) you want to make changes to. (If you list more than one phone number, Lumen Connect will make the same change to all numbers listed in this field.)
- To upload a spreadsheet with the phone number(s) you want to make changes to, click Download Bulk Load Template, open the file and fill in the template, save the template, click Add Attachment, browse to where you saved the file, then click Open.
- To type numbers in manually, use the Telephone Numbers field to type the phone number(s) you want to make changes to. (If you list more than one phone number, Lumen Connect will make the same change to all numbers listed in this field.)
- Click CONTINUE.
- From the Product list, select ELS.
- In the Change Order Type section, select the type(s) of change you want to make to the phone number(s) you added in the previous section.
- Click CONTINUE.
Based on the type(s) of change you select, Lumen Connect builds the order form for you.
- In the Customer Requested Date field, select the date you want Lumen to make changes to the phone number(s).
- If you need to add more details for the change order, type them in the Comments field.
- Based on the type(s) of change you selected, fill in the information in the section:
- To update the trunk group you want to assign the phone number(s) to, select a trunk group from the Customer Service Name list.
- To change whether the phone number(s) is for residential or business use, select Business (and fill in the Business Name field) or select Residential (and fill in the First Name and Last Name fields).
- To add a directory listing for the phone number(s), do the following:
- From the Directory Listing Action list, select Add Directory Listing.
- From the Directory Listing Add Type list, select whether you want the listing to appear in all available publications or only in Directory Assistance/411.
- In the Address Listed ? field, select whether you want the address to appear with the phone number.
- In the Business Name field, type the name you want to appear in the directory listing.
- In the Listing Address field, start typing the address, then select the street address. (Lumen Connect searches as your type.)
- From the Directory Listing Action list, select Add Directory Listing.
- To change a directory listing for the phone number(s), do the following:
- From the Directory Listing Action list, select Change Directory Listing.
- From the Directory Listing Add Type list, select whether you want the listing to appear in all available publications or only in Directory Assistance/411.
- In the Address Listed ? field, select whether you want the address to appear with the phone number.
- In the Business Name field, type the name you want to appear in the directory listing.
- In the Listing Address field, start typing the address, then select the street address. (Lumen Connect searches as you type.)
- From the Directory Listing Action list, select Change Directory Listing.
- To remove a directory listing for the phone number(s), select Decline Directory Listing (from the Directory Listing Action list).
- To change the service address for the phone number(s), start typing the address, then select the street address. (Lumen Connect searches as you type.)
- To change the E911 option, select whether Lumen is providing E911 service (E911 Standard) or you are providing E911 Service (E911 Customer Provided).
- To change the 911 address for the phone number(s), select E911 Standard, start typing the address, then select the street address. (Lumen Connect searches as you type.)
- To provide a calling name for the phone number(s), change the Block CNAM toggle to No, then type the calling name in the Customer Name Delivery (CNAM) field.
- To block the calling name, change the Block CNAM toggle to Yes.
- To update the trunk group you want to assign the phone number(s) to, select a trunk group from the Customer Service Name list.
If you leave the CNAM field blank or don't want a caller name listed, the default caller name is City, State. To specify the caller name, type a name (up to 15 characters). You cannot use any of the following:
- special characters—except “&” !@#$%^&*()
- telephone numbers (10‑digit 123‑456‑7890, 1234567890)
- anonymous
- blank
- NA or N/A
- none
- private
- TEST
- unknown
- unlisted (etc.)
- any name including (Non Pub)Business Name
- Click SUBMIT ORDER.
Lumen Connect places your order and shows the status of your order as Created. You can now track the status of your order in Lumen Connect.


