Monitoring contacts in Receptionist Console
To monitor contacts in Receptionist Console, you need to first add them to a monitor list in the VoIP end‑user portal. After you select the contacts to monitor, you’ll go to the Receptionist Console’s favorites directory to see the status of your contacts. You’ll also see the contacts’ statuses in your Receptionist Console enterprise directory.
Add contacts to monitor
To add contacts to monitor:
- Sign in to the VoIP portal.
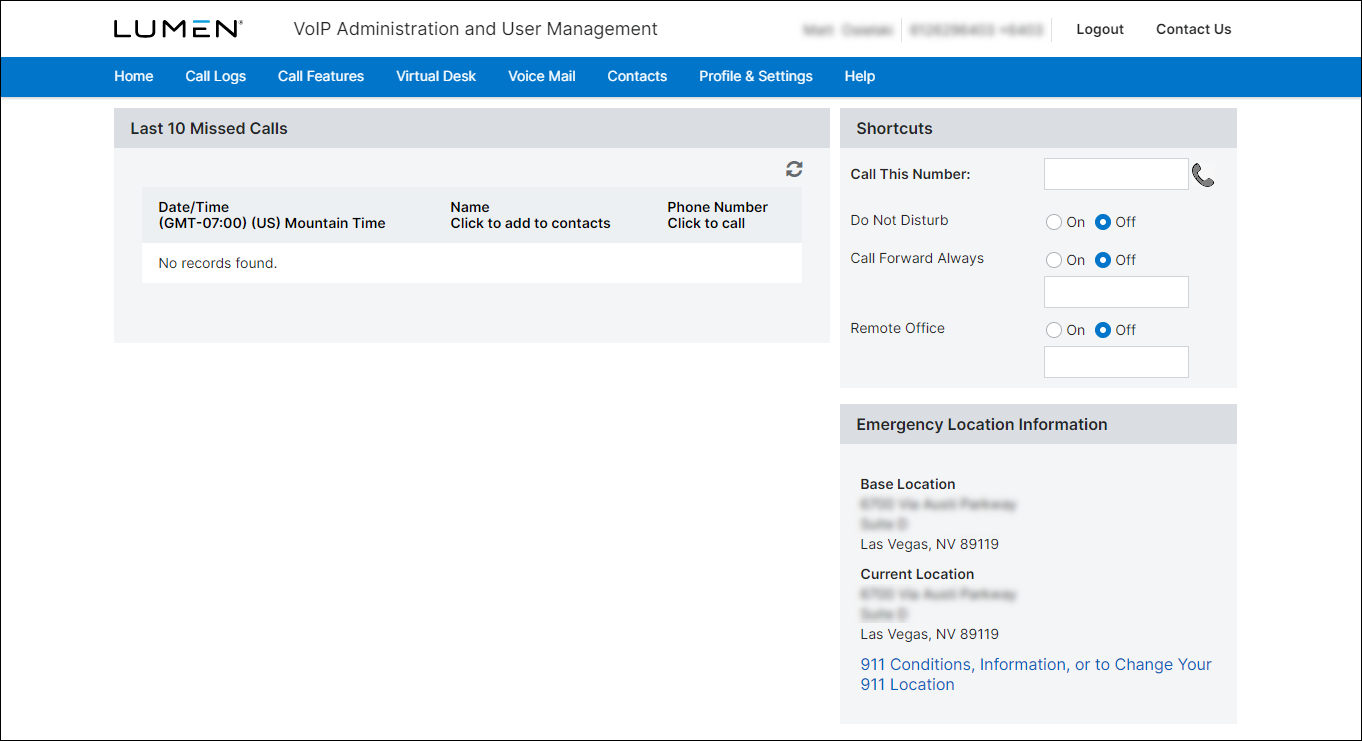
- From the VoIP portal’s main menu, click Call Features, then click Manage PC Receptionist Users from the submenu.
- To find the group the contacts are assigned to, do one of the following:
- From the Select a Group list, select the group the contacts are assigned to.
- If you don’t know the group the contacts are assigned to, from the Select a Group list, select Search ALL – Across Enterprise.
The Search Results field lists the users from the group you selected or from across your enterprise.
- From the Select a Group list, select the group the contacts are assigned to.
- To refine your search:
- From the Find list, select the search criteria (first or last name, phone, extension, or MAC address).
- Type all or part of the search term in the that includes field.
- Click Search.
The search field lists the users that match your search criteria.
- From the Find list, select the search criteria (first or last name, phone, extension, or MAC address).
- To select the contacts you want to monitor, drag and drop (with your cursor) the contacts from the Search Results field into the Monitored Users field.
Note: You can monitor up to 200 users across your enterprise.
- When you're done adding contacts to monitor, click Save.
View monitored contacts
After you’ve selected contacts to monitor in the VoIP portal, they’ll show in your favorites directory in Receptionist Console. The status of your favorites changes as their phone status changes. If you make changes to your monitored contact list, you’ll only see the update in Receptionist Console the next time you sign in.
To view the status of the contacts in Receptionist Console:
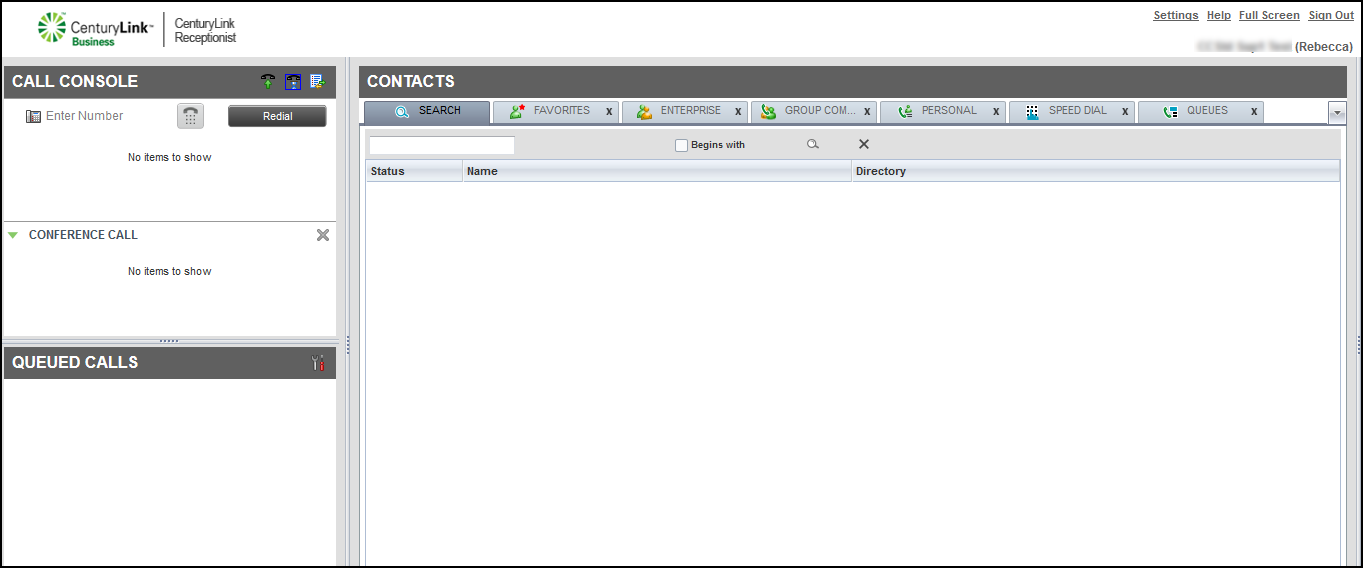
- In the Contacts pane, click the FAVORITES tab.
Receptionist Console lists your favorites with a status for each: Idle (), Busy (), Ringing (), Unknown (), Do Not Disturb (), or Call Forward Always ().


