Adding a connection between two AWS locations
You can add a Lumen® Ethernet On‑Demand connection between two Amazon Web Services (AWS) Hosted Connections using Lumen Connect℠. To add the connection, you'll need your AWS account IDs from Amazon. Be sure to have that information handy to type in (or copy/paste).
There are three steps to successfully add and use a connection between two AWS connections:
Note: With AWS, we recommend you create a redundant connection to qualify for better availability SLAs.
Step 1: Prepare the AWS connection
To prepare the connection in AWS:
- Go to the AWS page and sign in.
- Create a Direct Connect gateway.
- Copy your AWS Account ID. You will paste this when creating the On-Demand connection.
Step 2: Add the connection in Lumen Connect
To add the Ethernet On‑Demand connection:
- Using the left menu, click Services, then click Add Services.
Lumen Connect shows services you can add with the Lumen digital experience.
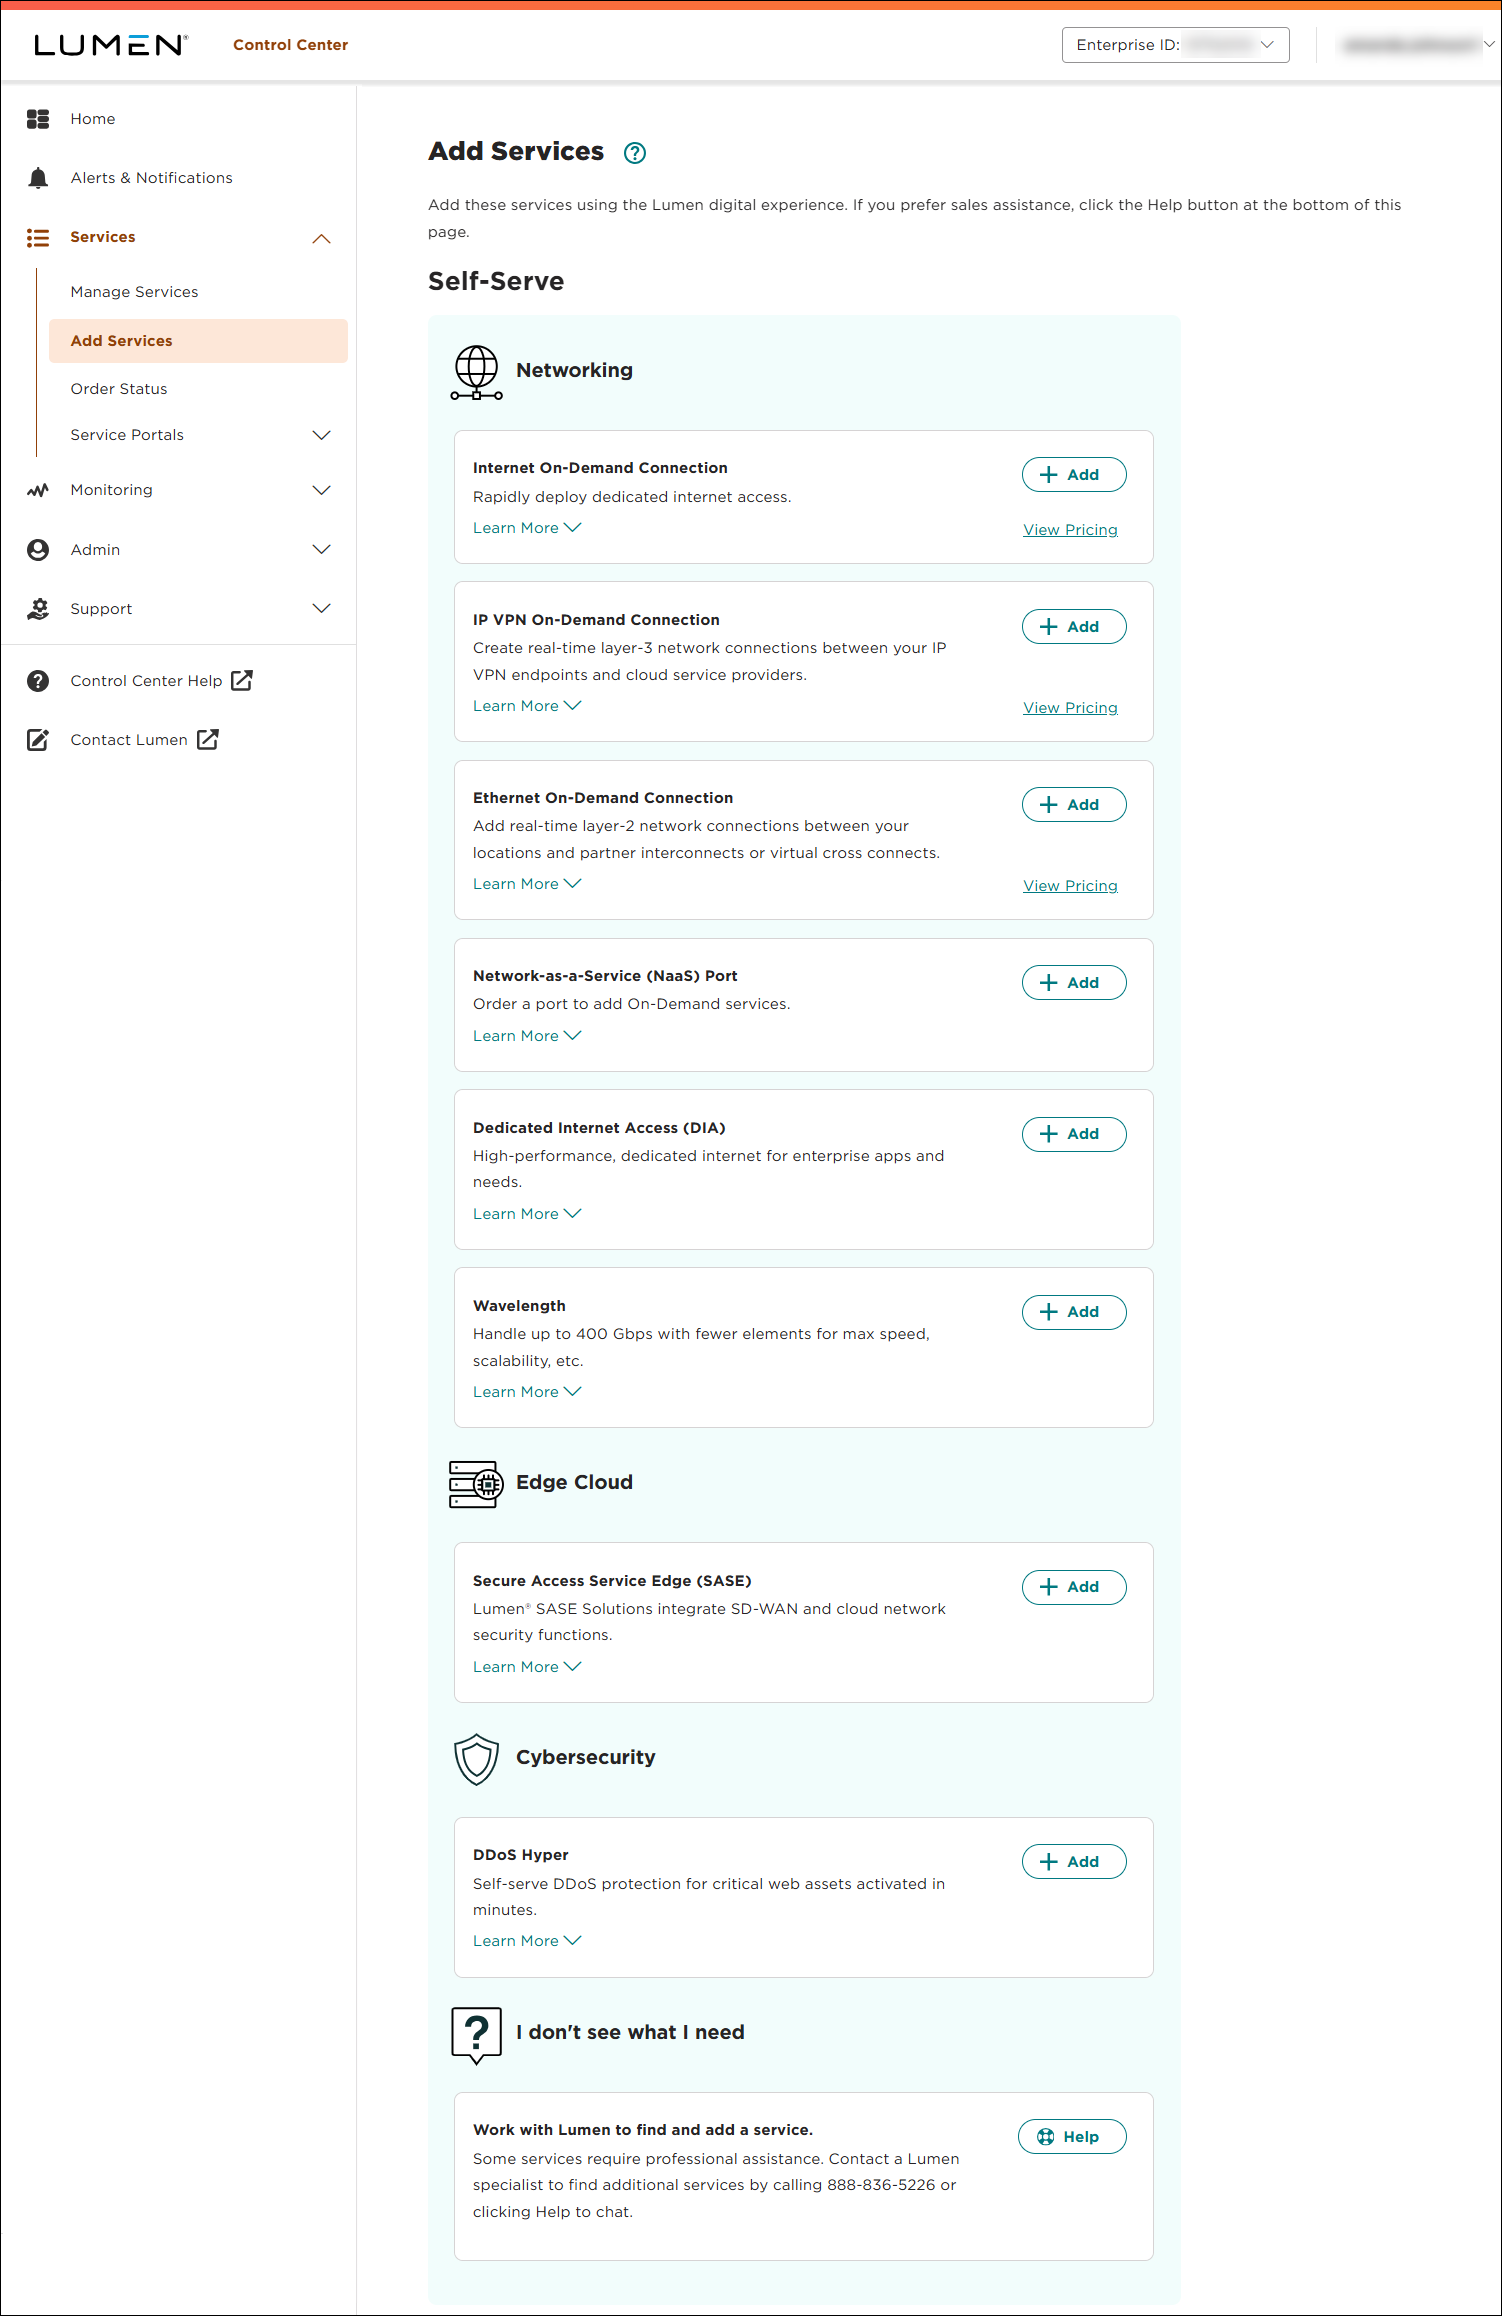
- Click + Add for Ethernet On-Demand.
- From the Customer Account and Billing Account lists, select the customer number and billing account number you want to add Ethernet On-Demand to.
- In the Service Nickname field, type a name for the connection you're creating. (Be sure to use something memorable. This name will appear on your invoice.)
- In the From Location field, select Cloud Provider.
- Fill in the information for the connection:
- In the Cloud Provider field, select AWS.
- In the AWS Account ID field, type your Amazon account ID.
- In the Select On‑Ramp field, select where you want your connection to originate.
- In the Cloud Provider field, select AWS.
- In the To Location field, select Cloud Provider.
- Fill in the information for the connection:
- In the Cloud Provider field, select AWS.
- In the AWS Account ID field, type your Amazon account ID.
- In the Select On‑Ramp field, select the AWS termination endpoint.
- In the Cloud Provider field, select AWS.
- Click Continue.
- In the Class of Service field, select whether you want Basic, Enhanced, or Dedicated. (Higher classes of service offer higher availability SLAs and allow you to increase traffic prioritization for your EVC.)
- Basic (best effort): The service may be oversubscribed on the Lumen network.
- Enhanced (mid class): Enhanced EVCs (ethernet virtual circuits) can still be oversubscribed like Basic class of service EVCs; however, traffic is marked with an internal class of service marking which will prioritize your traffic over best-effort traffic during times of congestion. For EVCs with this class of service, bandwidth is not reserved on the Lumen network and traffic will not take priority over real-time traffic in the network.
- Dedicated (real time): The quality of service offering with the highest priority on the Lumen network. In addition, Lumen reserves the bandwidth for this EVC across the network on each ring that the EVC touches. Once it is dedicated to you, that bandwidth (and the corresponding CE-VLANs) sits in reserve regardless of how much bandwidth you use.
- Basic (best effort): The service may be oversubscribed on the Lumen network.
- Use the Billing Method buttons to select whether you want monthly or hourly billing for the connection.
Lumen Connect shows pricing for the billing method you selected.
- In the Select Bandwidth field, select the bandwidth for the connection. Bandwidth options vary based on selected locations and cloud service providers. The maximum bandwidth available is the highest matching bandwidth at both locations.
- Click Continue.
- Review your connection information then click Submit Order.
Lumen Connect creates the connection request and places it in the Pending Activation status. From here, you can view the connection status.
Step 3: Complete the AWS connection
To complete the connection in AWS:
- Go to the AWS page and sign in.
- Locate the Direct Connect gateway with the ID that matches the connection ID in the service details to location in Lumen Connect and create the virtual interface.


