Creating an order for a 1+ Switched ANI
Using Control Center, you can order an ANI for a Lumen® 1+ Switched and Toll Free service. If you need to order more than one ANI, you can also create a bulk order using a spreadsheet.
To create an order for a 1+ Switched ANI:
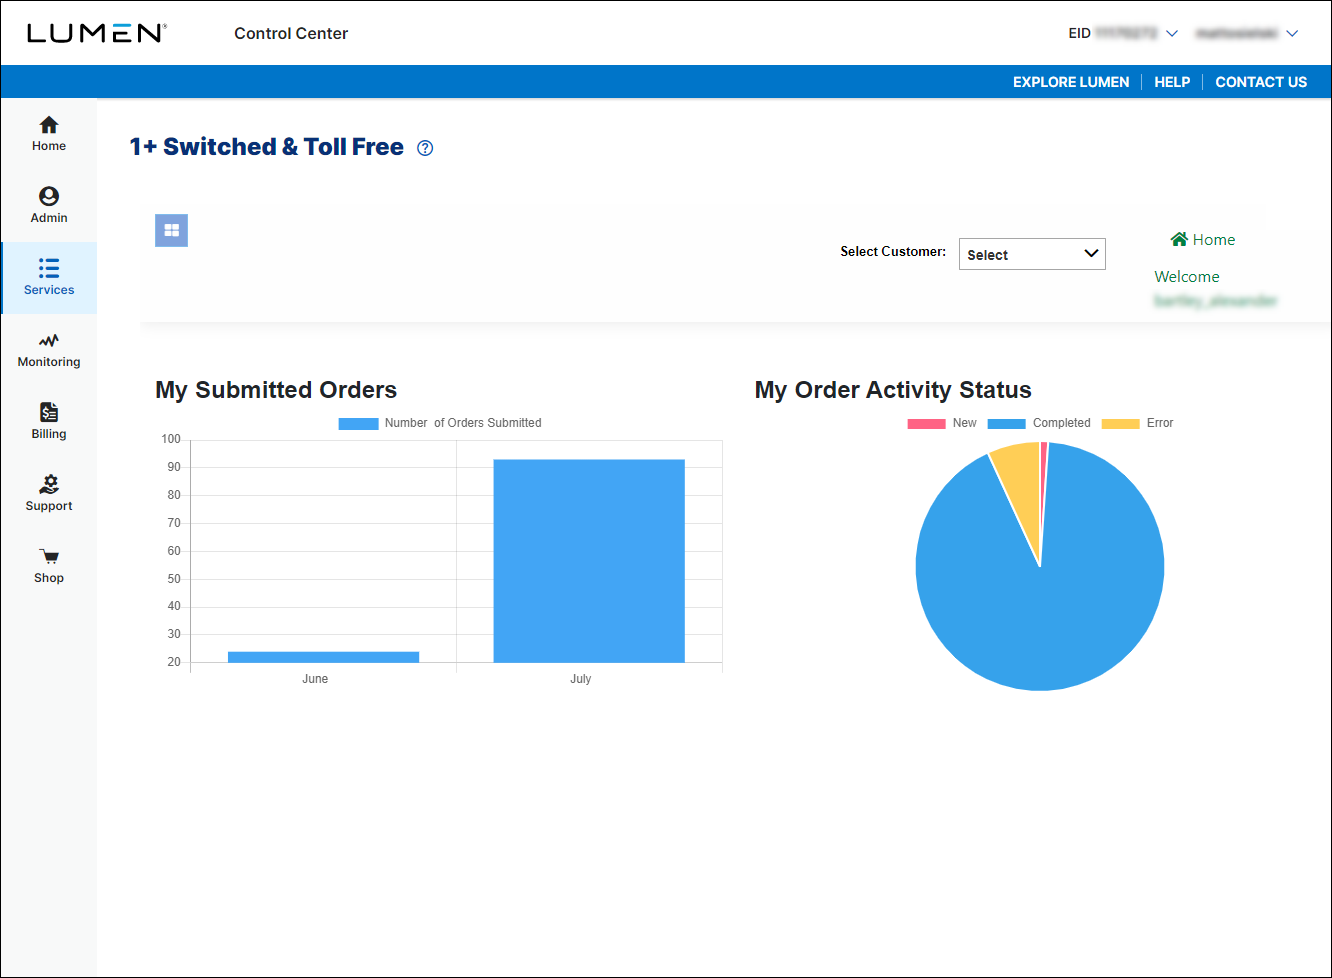
- Using the left menu, click Services, click Service Tools, then click 1+ Switched & Toll Free.
- In the Svc Loc/Bill Acct field, select the billing account number you want to place the order under. (If you only have one billing account number, Control Center automatically selects that billing account number for you.)
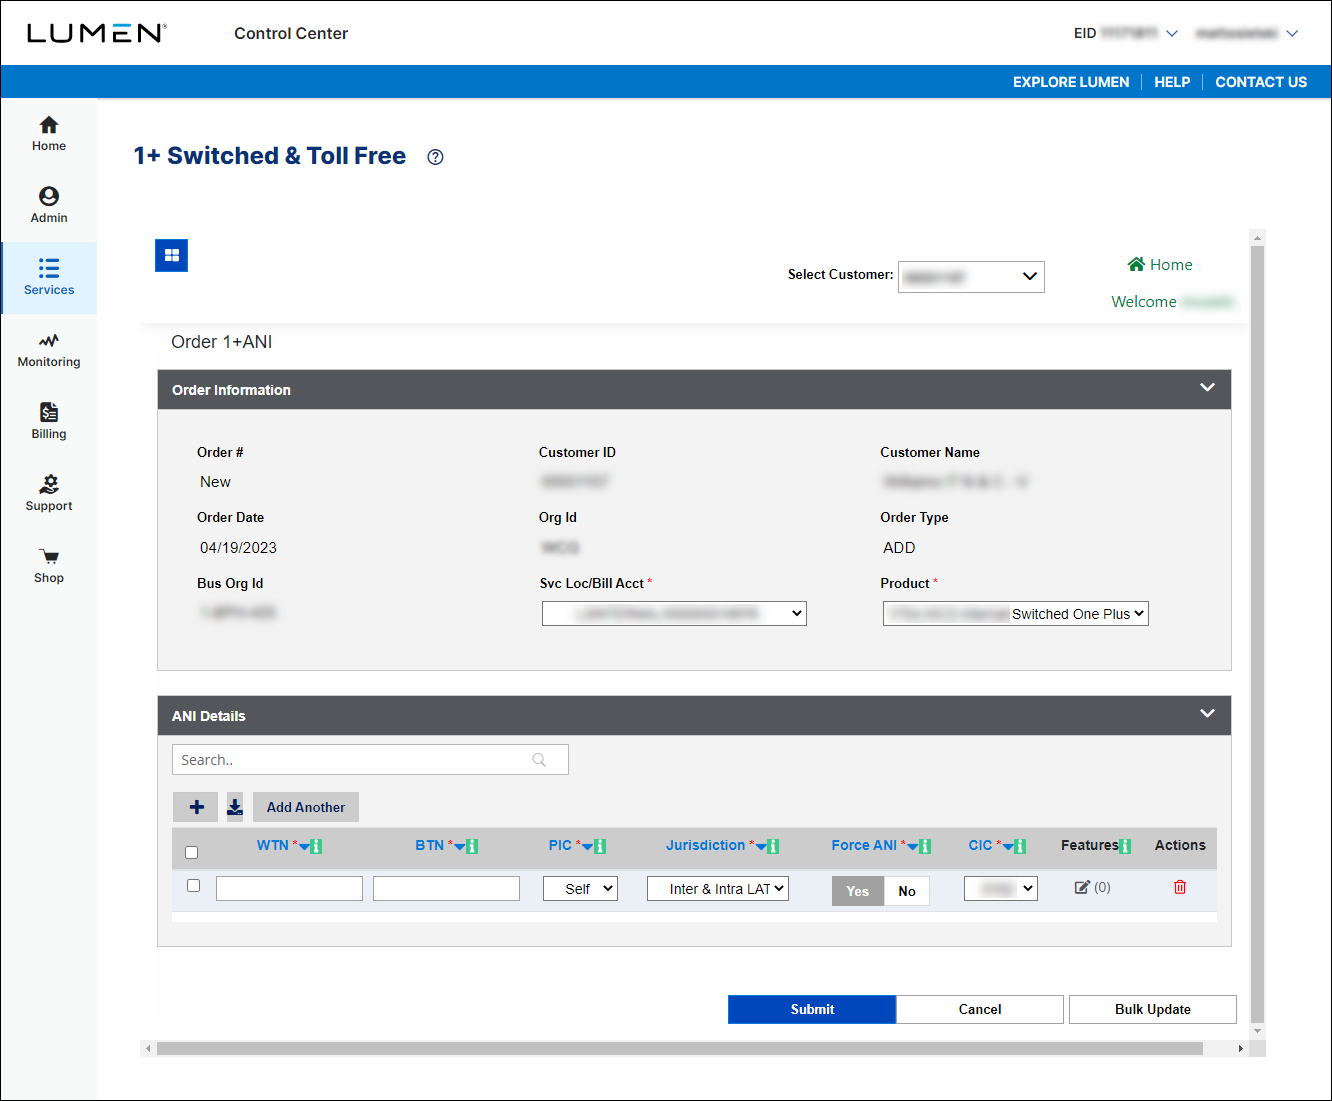
- In the ANI Details section, fill in the details for the ANI:
- In the WTN field, type the working telephone number.
- In the BTN field, type the billing telephone number.
- From the PIC list, select the interexchange carrier you want calls to be routed to.
- From the Jurisdiction list, select whether you want both Inter- and IntraLATA calls routed or only InterLATA calls.
- In the Force ANI field, select whether you want the ANI provisioned on the network (DMS) no matter what PIC you selected.
- From the CIC list, select the carrier identification code.
- In the Features column, click the Edit icon to add features to the ANI.
- Add features from the Account Codes, Blocking, and Others tabs.
- To add a feature, select it in the left column and click the right arrow, select whether the feature is mandatory or non-mandatory, fill in any other fields for the feature, then click ADD.
- To remove a feature, select it in the right column and click the left arrow.
- To add a feature, select it in the left column and click the right arrow, select whether the feature is mandatory or non-mandatory, fill in any other fields for the feature, then click ADD.
- When you’re done, click Submit.
Control Center lists the total number of features for the ANI next to the Edit icon.
- Add features from the Account Codes, Blocking, and Others tabs.
- To add another ANI to the order, click Add Another, then repeat steps a–g. When you’re done, continue with step 6.
- In the WTN field, type the working telephone number.
- When you're done, click Submit.
Control Center submits the order for the ANI. You can now track the status of your order online.
Explore Control Center


