Adding direct‑trunk overflow to a routing plan
If you want your customers to talk to someone rather than get a busy signal, use the direct‑trunk‑overflow feature to ensure callers terminate on a DID/ANI ring‑to number. If your business needs change, you can remove direct‑trunk overflow from the routing plan later. You can also use busy ring no answer (BRNA®) in conjunction with direct‑trunk overflow.
To add direct-trunk overflow to a routing plan:
- In the Services widget on the homepage, select Toll Free from the Find by Product or Service Tool list.
Control Center shows all Toll Free services on the enterprise ID.
- Search for the service you want to work with. When you find the service you want to work with, click the hyperlinked service ID or click the icon (in the Actions column), then click View Details.
Control Center shows details for the toll-free service you selected.
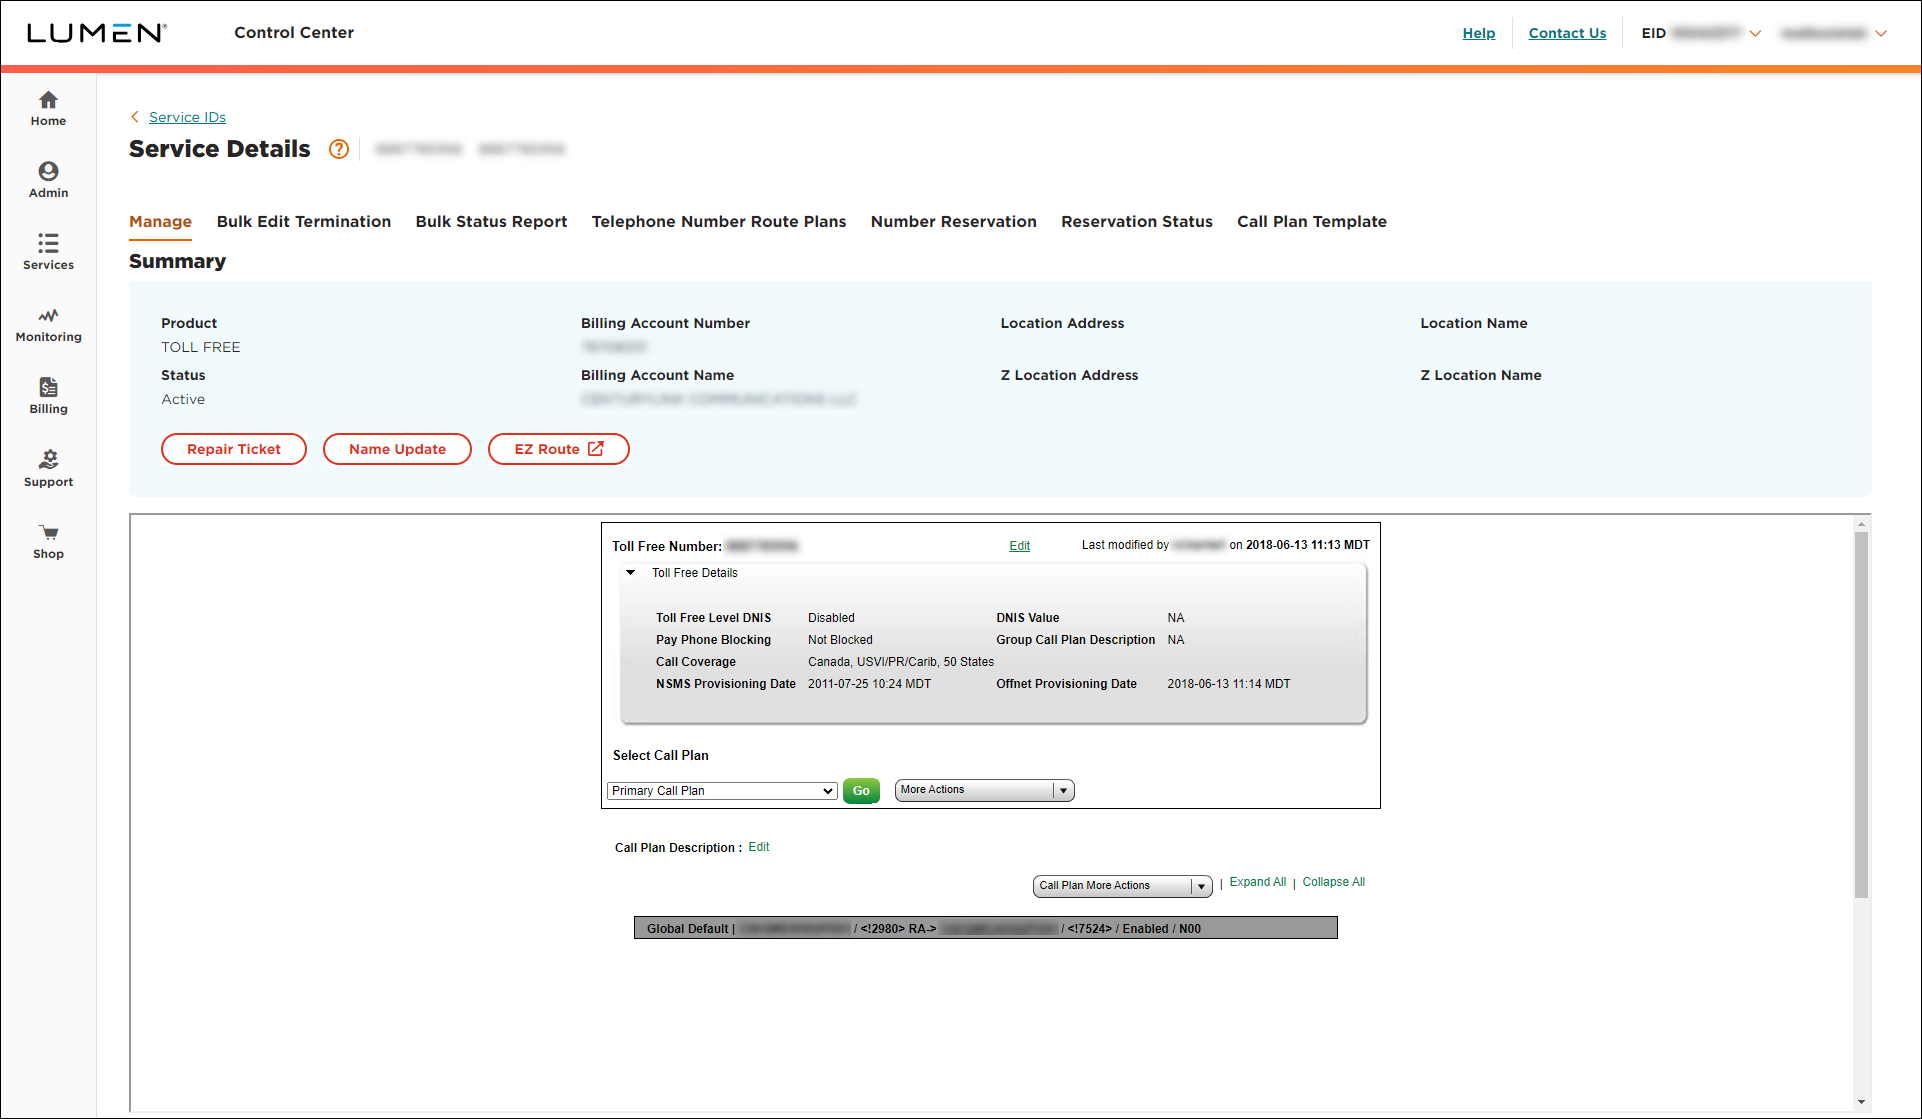
- From the Call Plan More Actions list, select Edit Call Plan.

- Click the Global Default dark gray bar.
- In the window, select the OverFlow radio button, then click Select.
- If the Confirm Feature ADD/Delete window appears, click Accept.
- Click OK to delete the BNRA details.
- Add the trunk(s) and/or ANI you want to overflow to. You can select up to two trunks and one ANI:
- To add an overflow trunk:
- From the first DTO list, select a trunk you want to overflow to first.
- To add a description or DNIS value for the trunk, click Modify, type the information, then click Save.
- From the first DTO list, select a trunk you want to overflow to first.
- To add a second overflow trunk:
- From the second DTO list, select a trunk you want the overflow to go to next.
- To add a description or DNIS value for the trunk, click Modify, type the information, then click Save.
- From the second DTO list, select a trunk you want the overflow to go to next.
- To add an overflow ANI:
- From the ANI list, select the ANI. (If you don't see the ANI you need, click the ADD ANI TO THE LIST button, fill in the fields, and click Add.)
- To add a description or DNIS value for the ANI, click Modify, type the information, then click Save.
- From the ANI list, select the ANI. (If you don't see the ANI you need, click the ADD ANI TO THE LIST button, fill in the fields, and click Add.)
- To add an overflow trunk:
- When you're done, scroll to the bottom of the window, then click Update.
- Click Save Changes (you may need to scroll down in the window).
- Select the date and time you want your changes to take effect, then click Submit.
Important: After you schedule the changes, you cannot edit the plan until the pending changes are activated. You can check the status of the request by selecting Job List from the More Actions list.
Explore Control Center


