Lumen help
Adding a match rule to a configuration
Match rules provide the criteria for evaluating requests and responses and, when matched, specify one or more actions (e.g., setting cache expiration, calling geo definitions, content/header processing modes, etc.) for the system to take. Once a match rule criteria is matched, the system stops checking. In other words, the first match wins.
- Sign in to Media portal. (Get help resetting your password)
- From the main menu, select My Services > Caching.
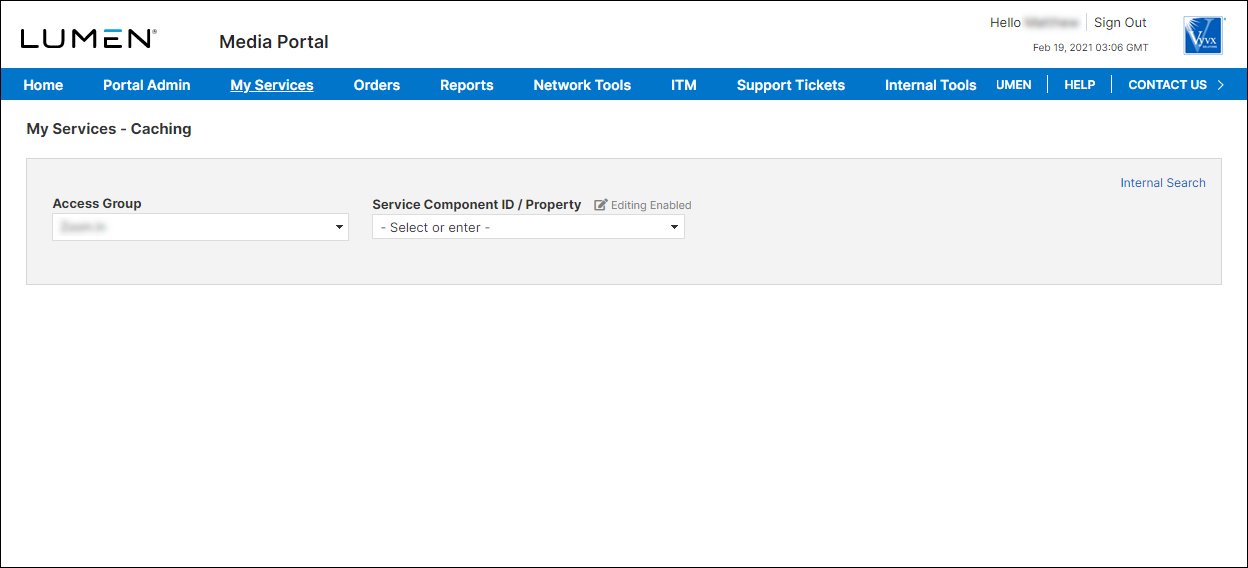
- From the lists, select the access group and SCID (service component ID) you want to work with.
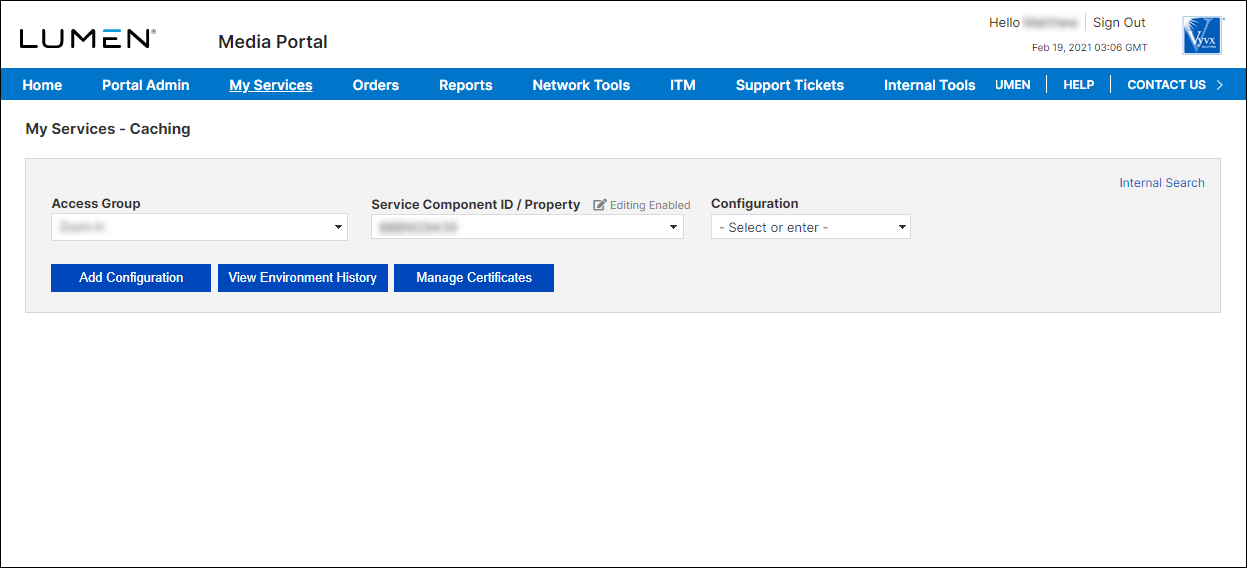
- From the list, select the configuration.
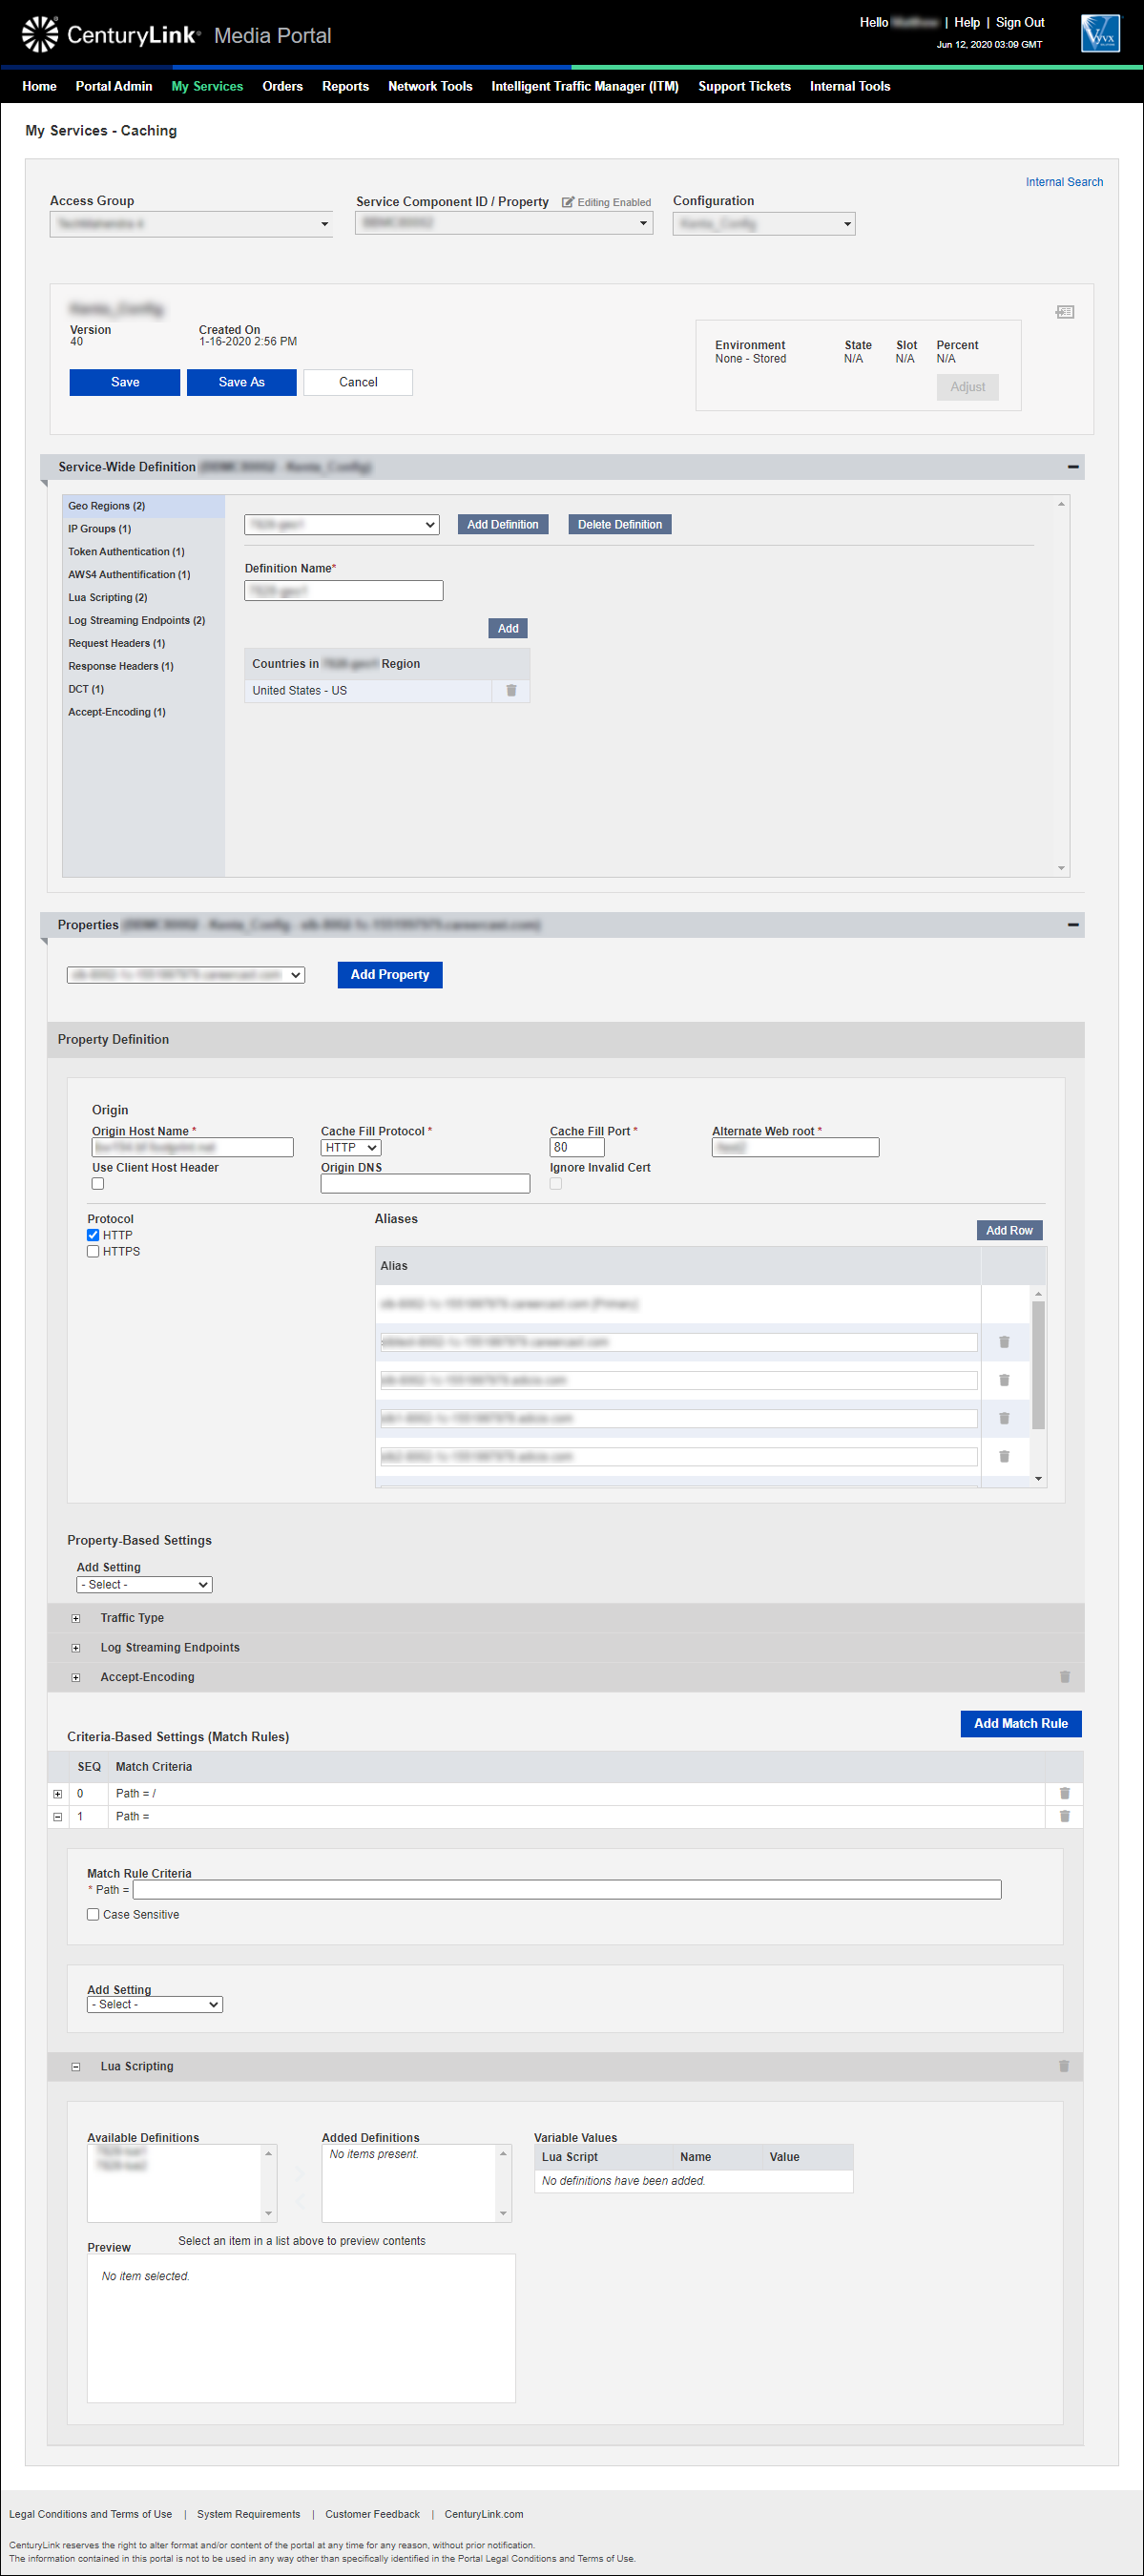
- From an open configuration, click Edit Configuration.
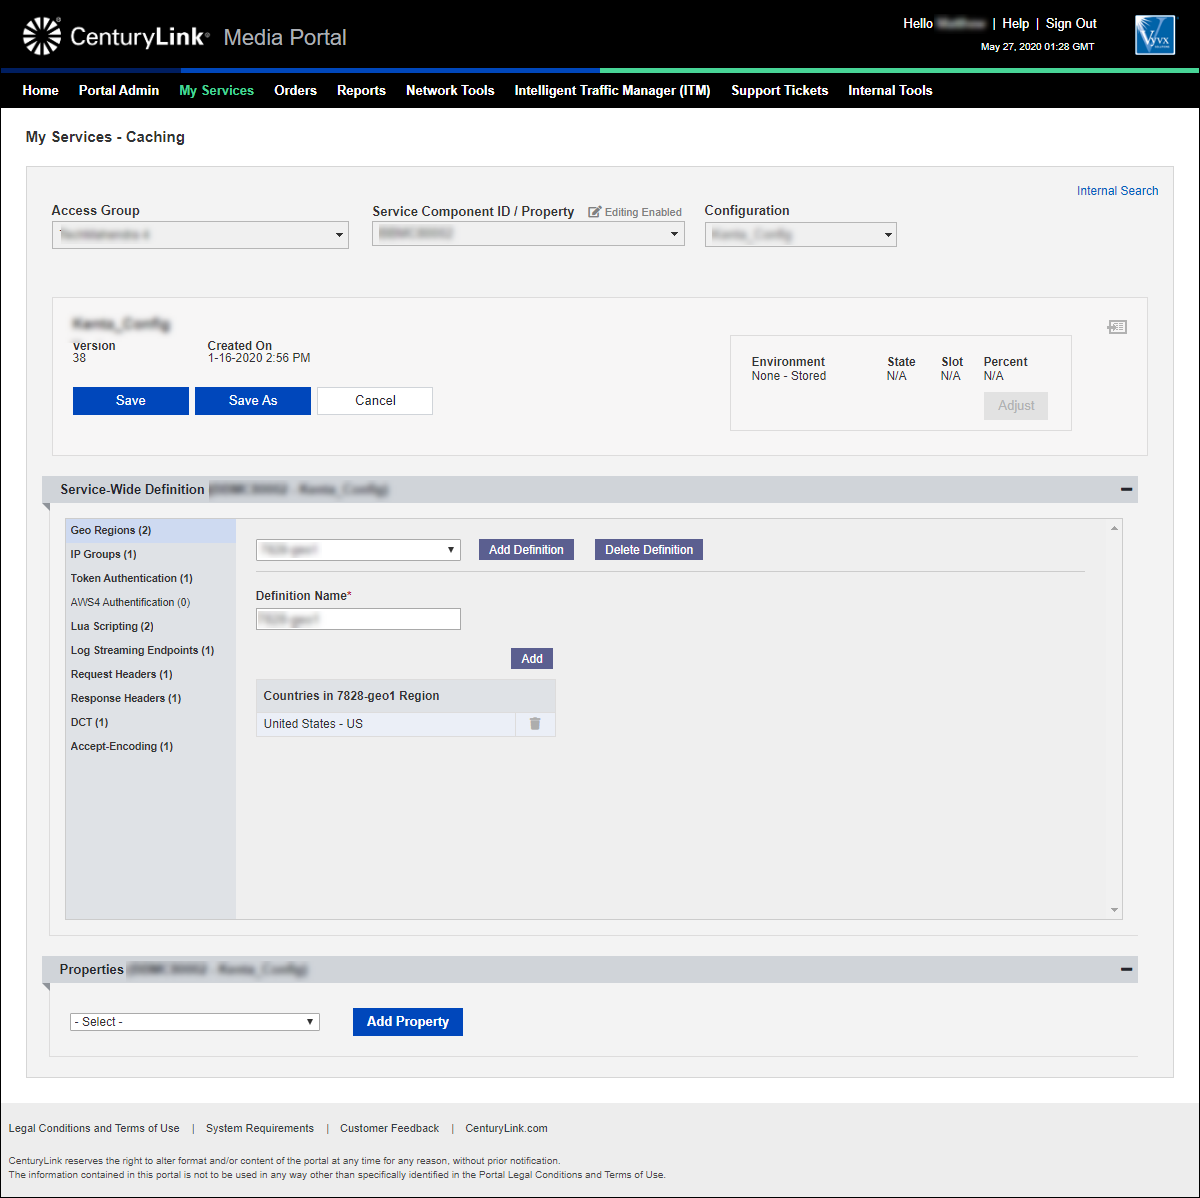
- From the Properties list, select the property you want to add a match rule to.
Media portal displays the information for the property.
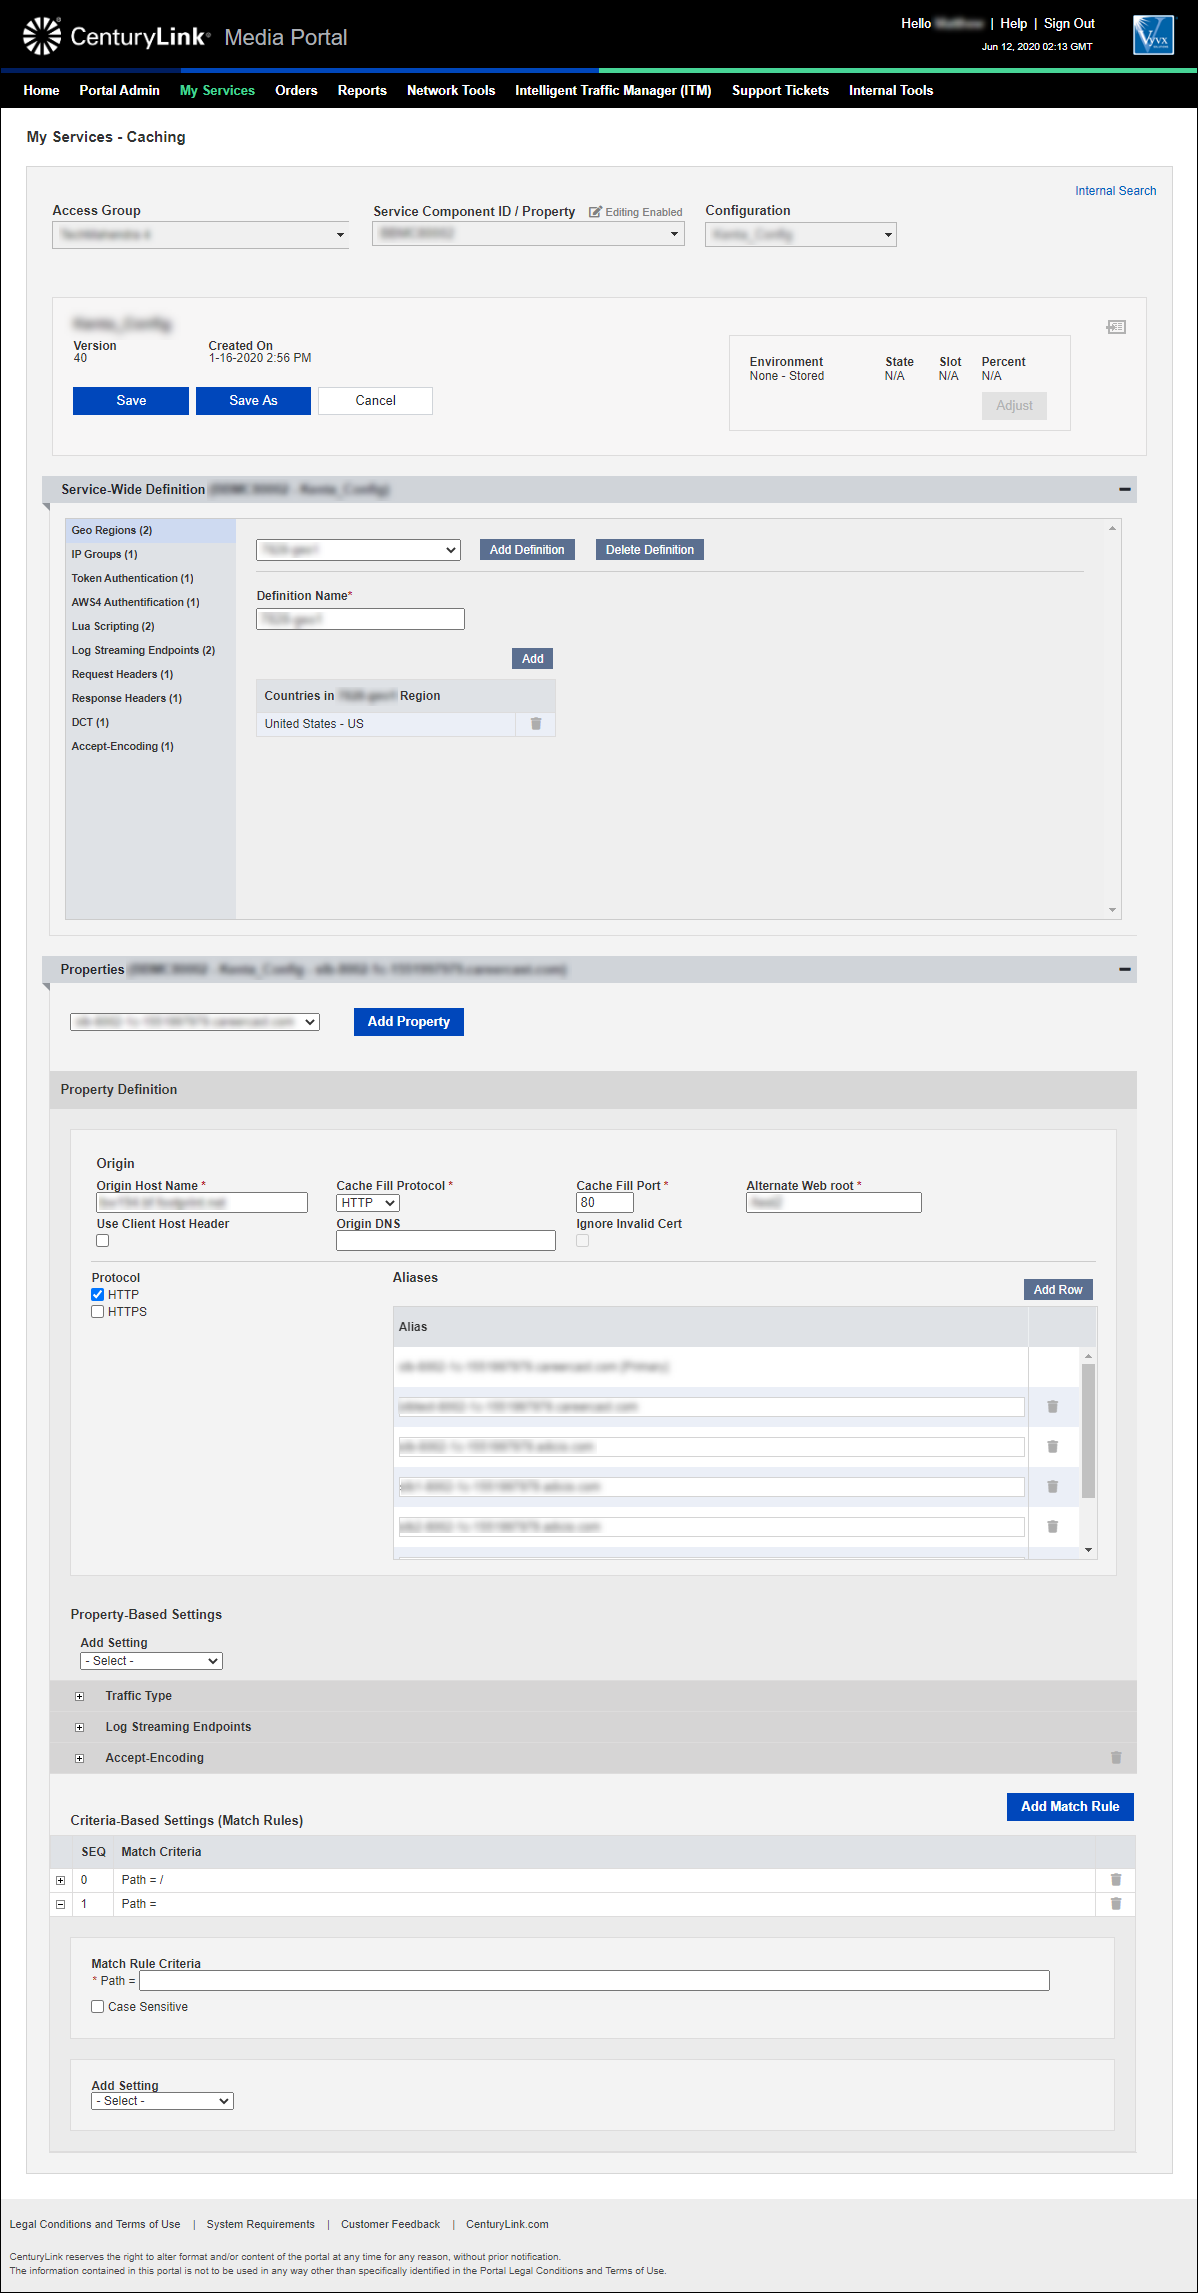
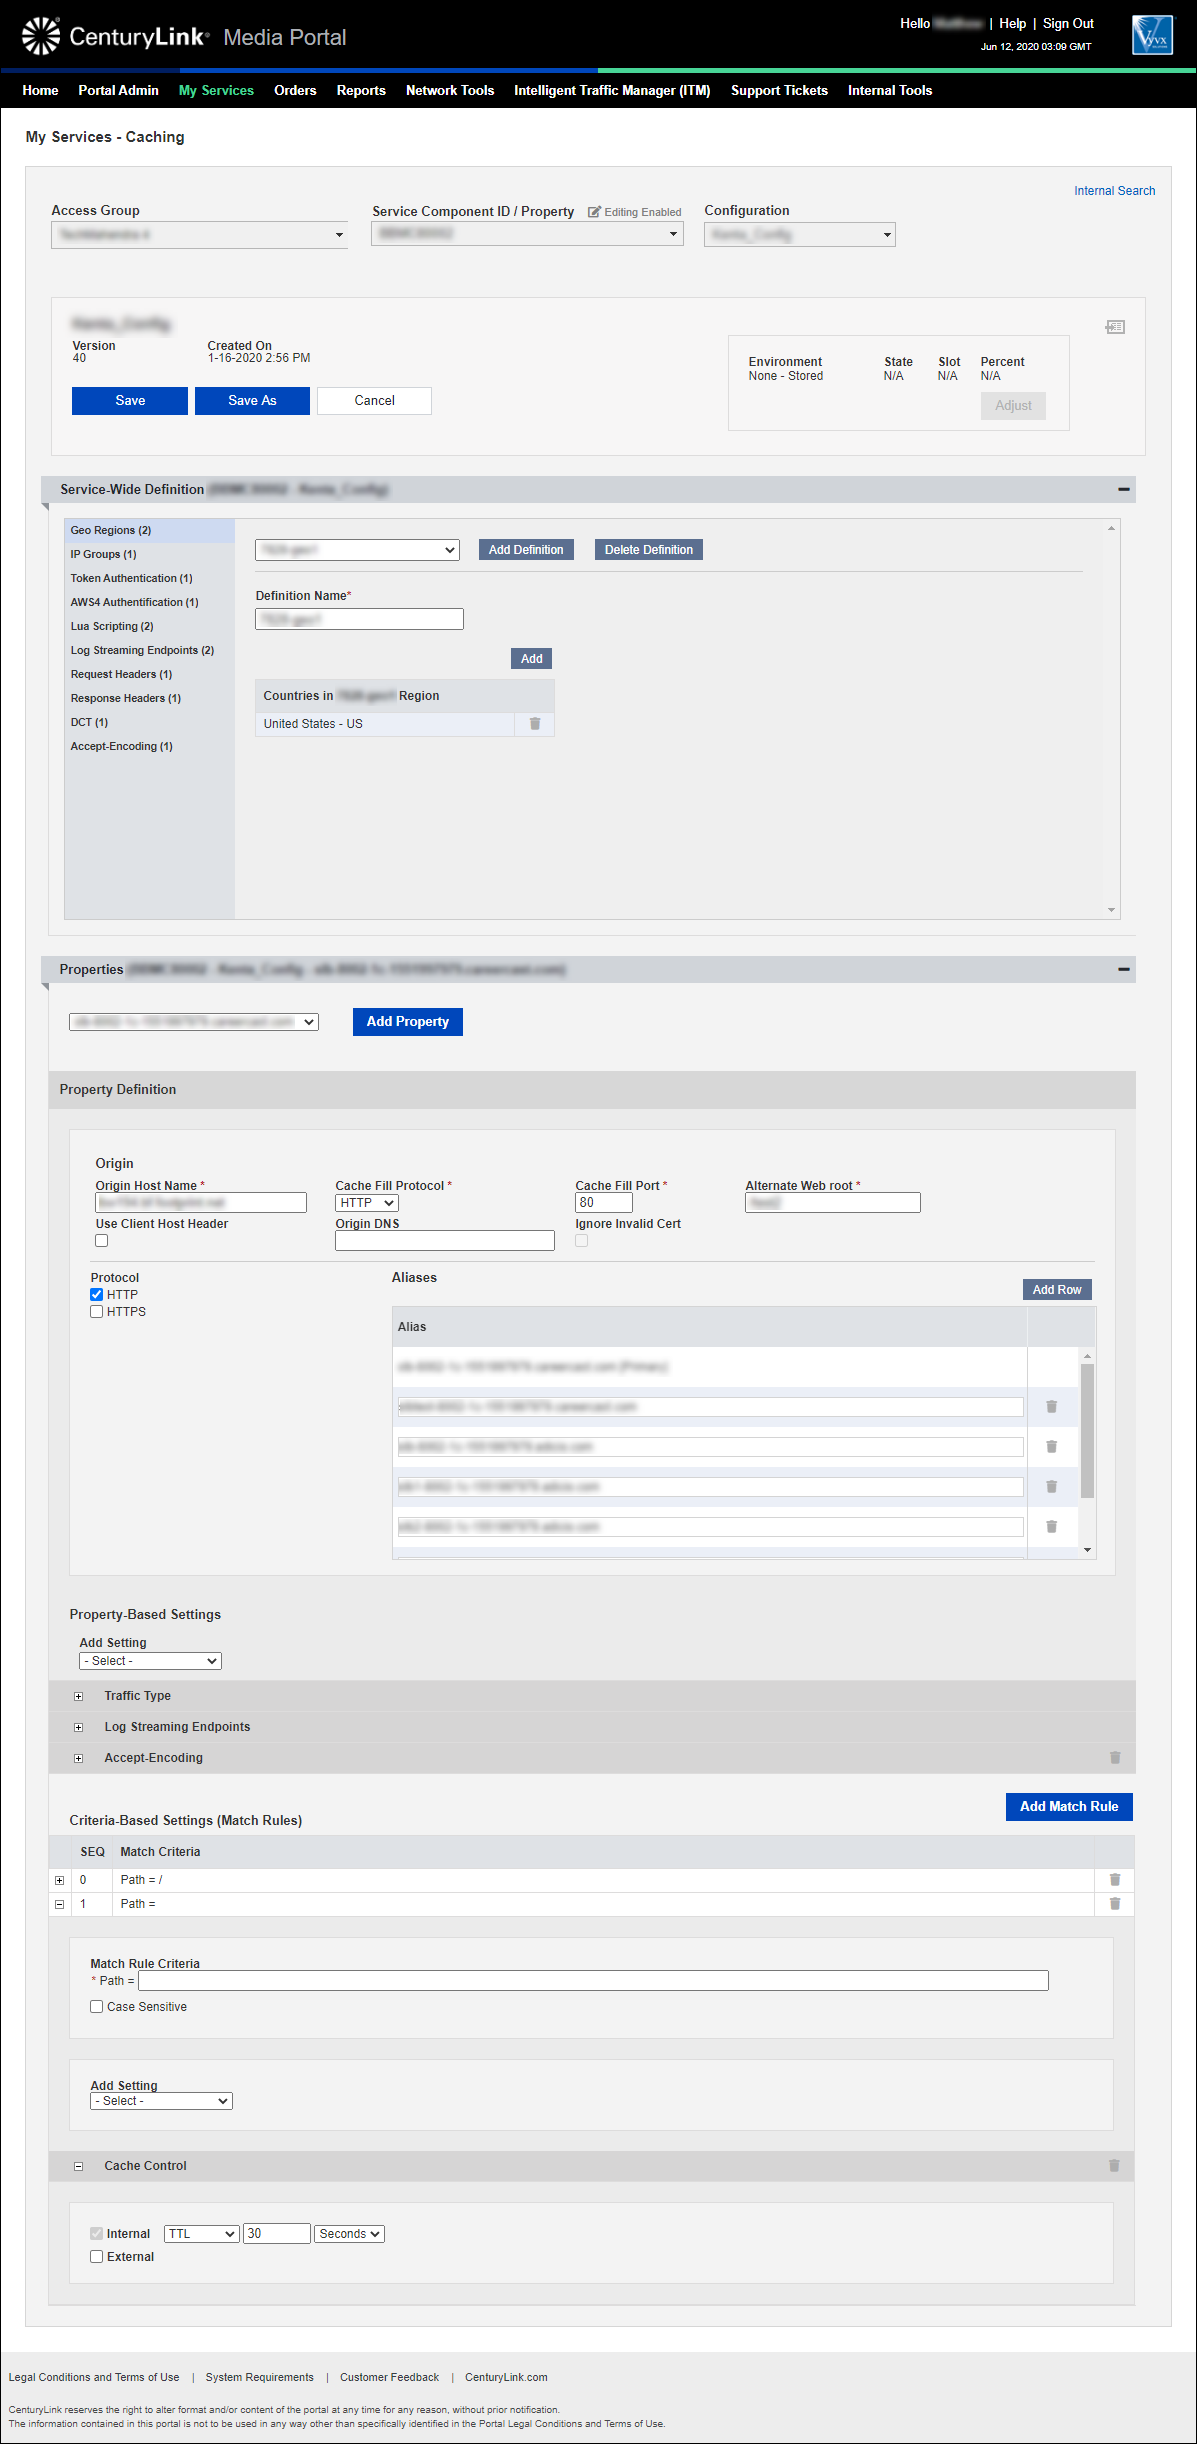
- Click Add Match Rule.
- In the Match Rule Criteria field, type the path you want the CDN to look for when evaluating incoming requests.
Note: At this time, the only supported expression is the requested path/received URI without query strings. Note that the path may be expressed using the following operators:
- == Equality test
- %= Equality test (case insensitive)
- *= Glob test
- %* Glob test (case insensitive)
Any operator may be inverted by prepending an “!” (not).
- If you want the CDN to look for matches exactly the way you typed the path, select the Case Sensitive check box.
- From the Add Setting list, choose the type of directive you want to use if an incoming request matches the path you typed. Use the sections below to learn more about how to add each type of directive.
Use the cache-control directive to set the internal and external caching policy. The internal policy tells the CDN how it should cache the object; the external policy instructs the CDN on what information to include in the response sent to the client, influencing how the client caches the received content.
- From the Add Settings list, select Cache Control.
By default, Media portal adds internal cache control—which tells the CDN how it should cache the object.
- Select the internal policy: TTL, As-is, No-cache, or No-store. (If you select TTL, type a number and select a unit for the time to live. )
- If you need to set an external policy, click the External checkbox and then select the policy.
Use a deny-policy directive to reject or redirect (to an alternate URL) all requests matching specific criteria.
- From the Add Settings list, select Deny Policy.
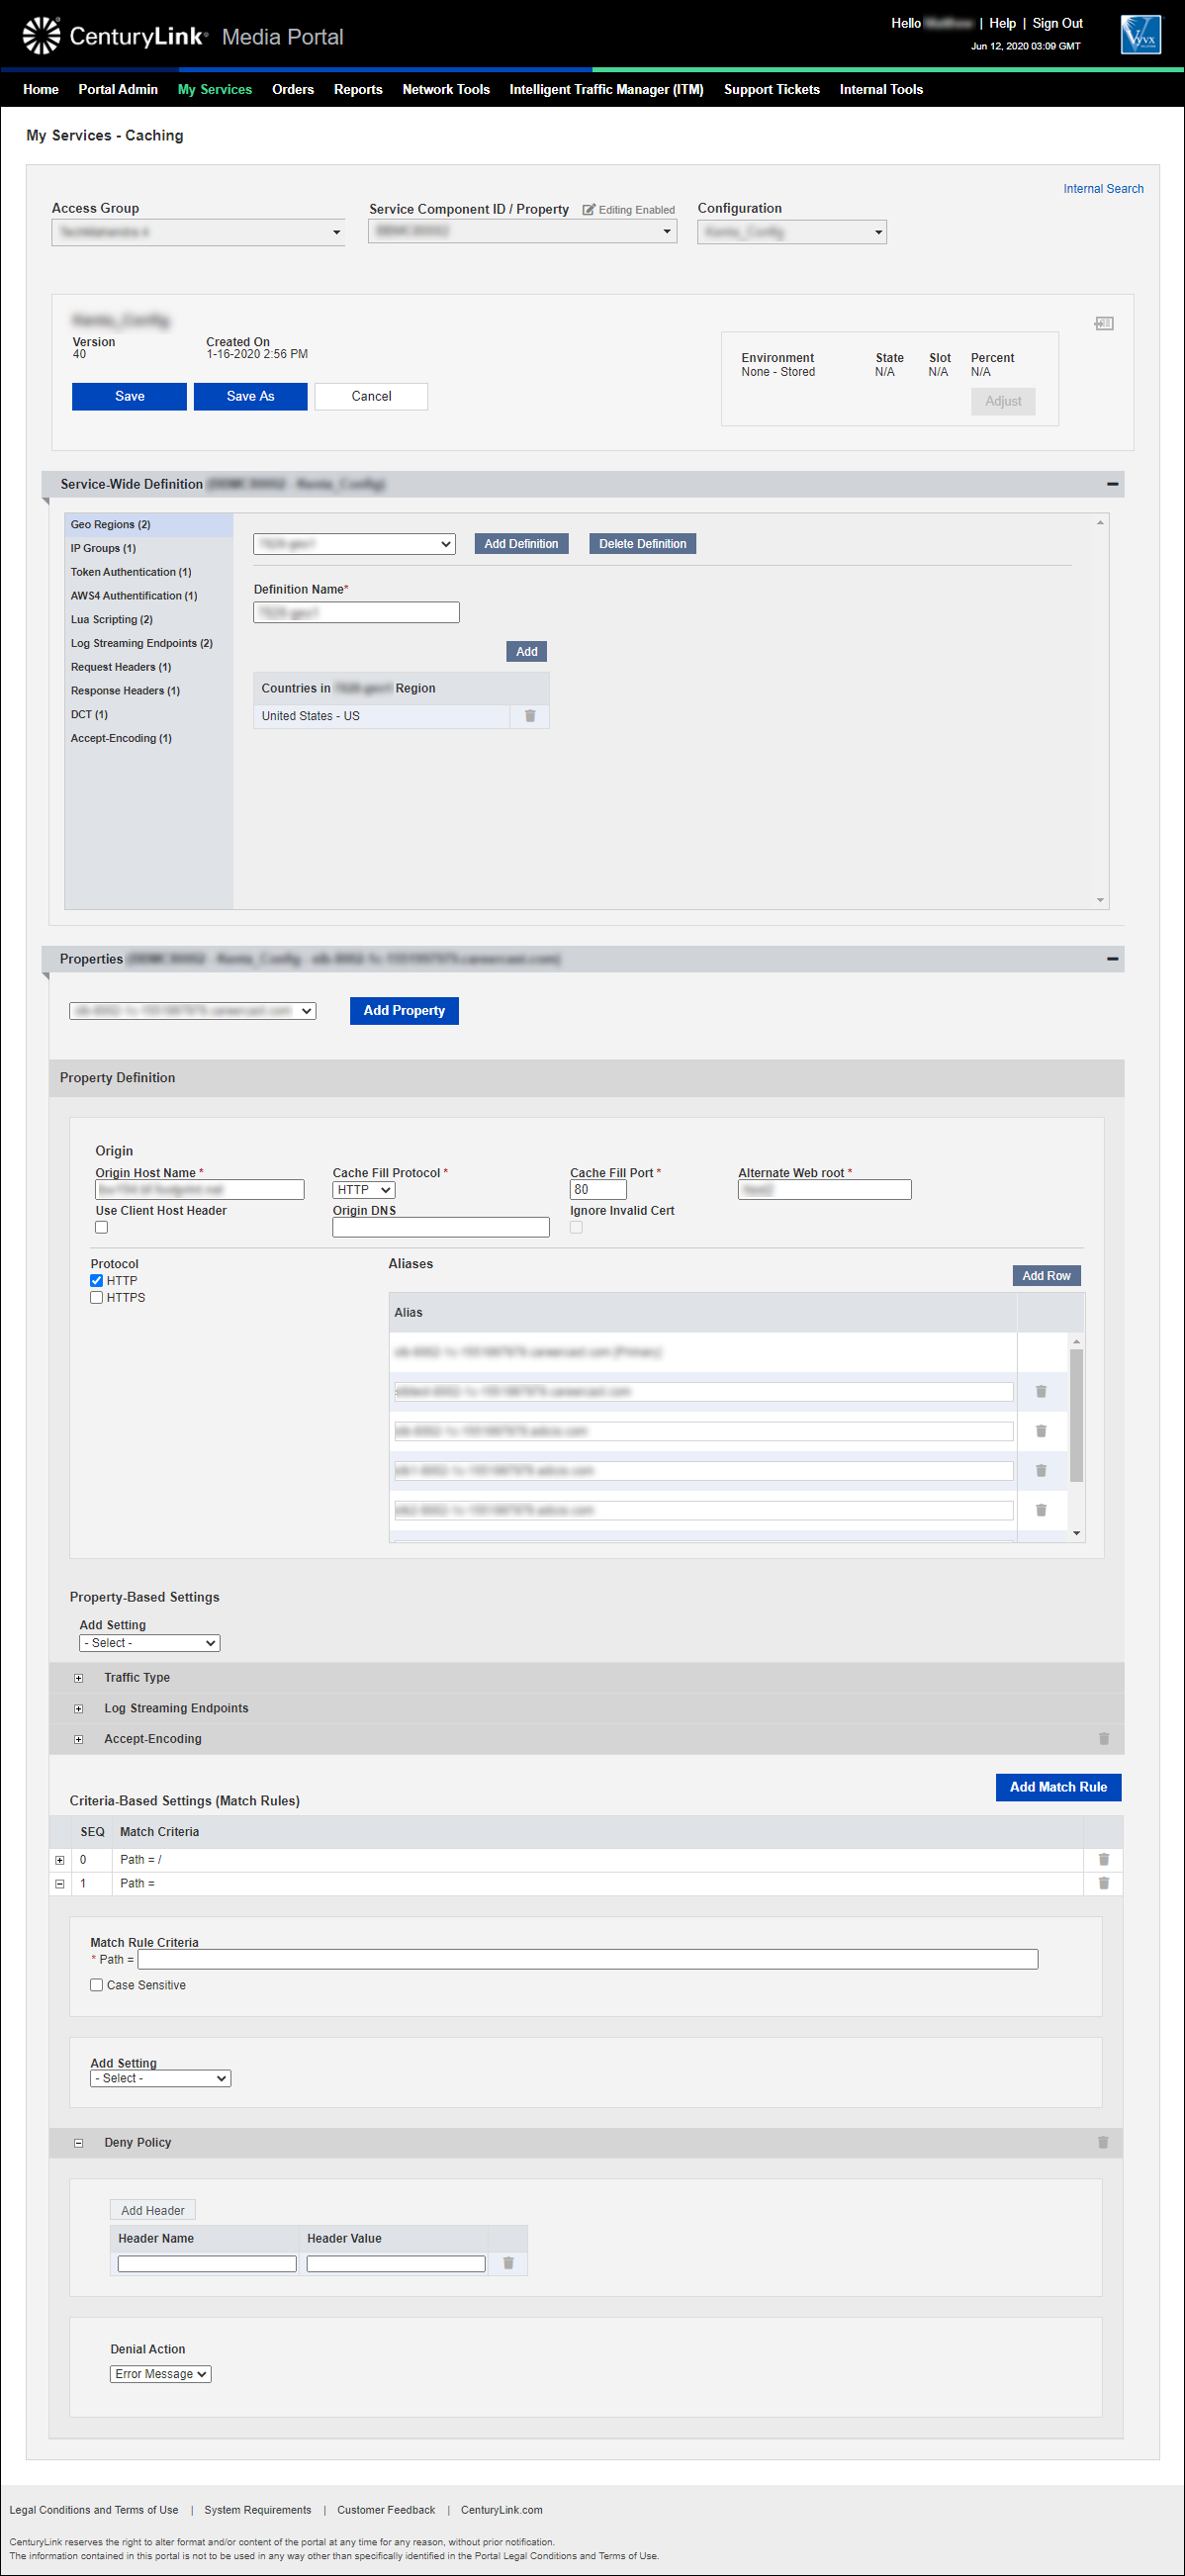
- Fill in the header name and value.
- To add additional headers, click Add Header and repeat step 2.
- Select the type of denial: Error Message or Redirect. If you select Redirect, type the URL where you want to send requests.
- From the Add Settings list, select Geo Blocking.
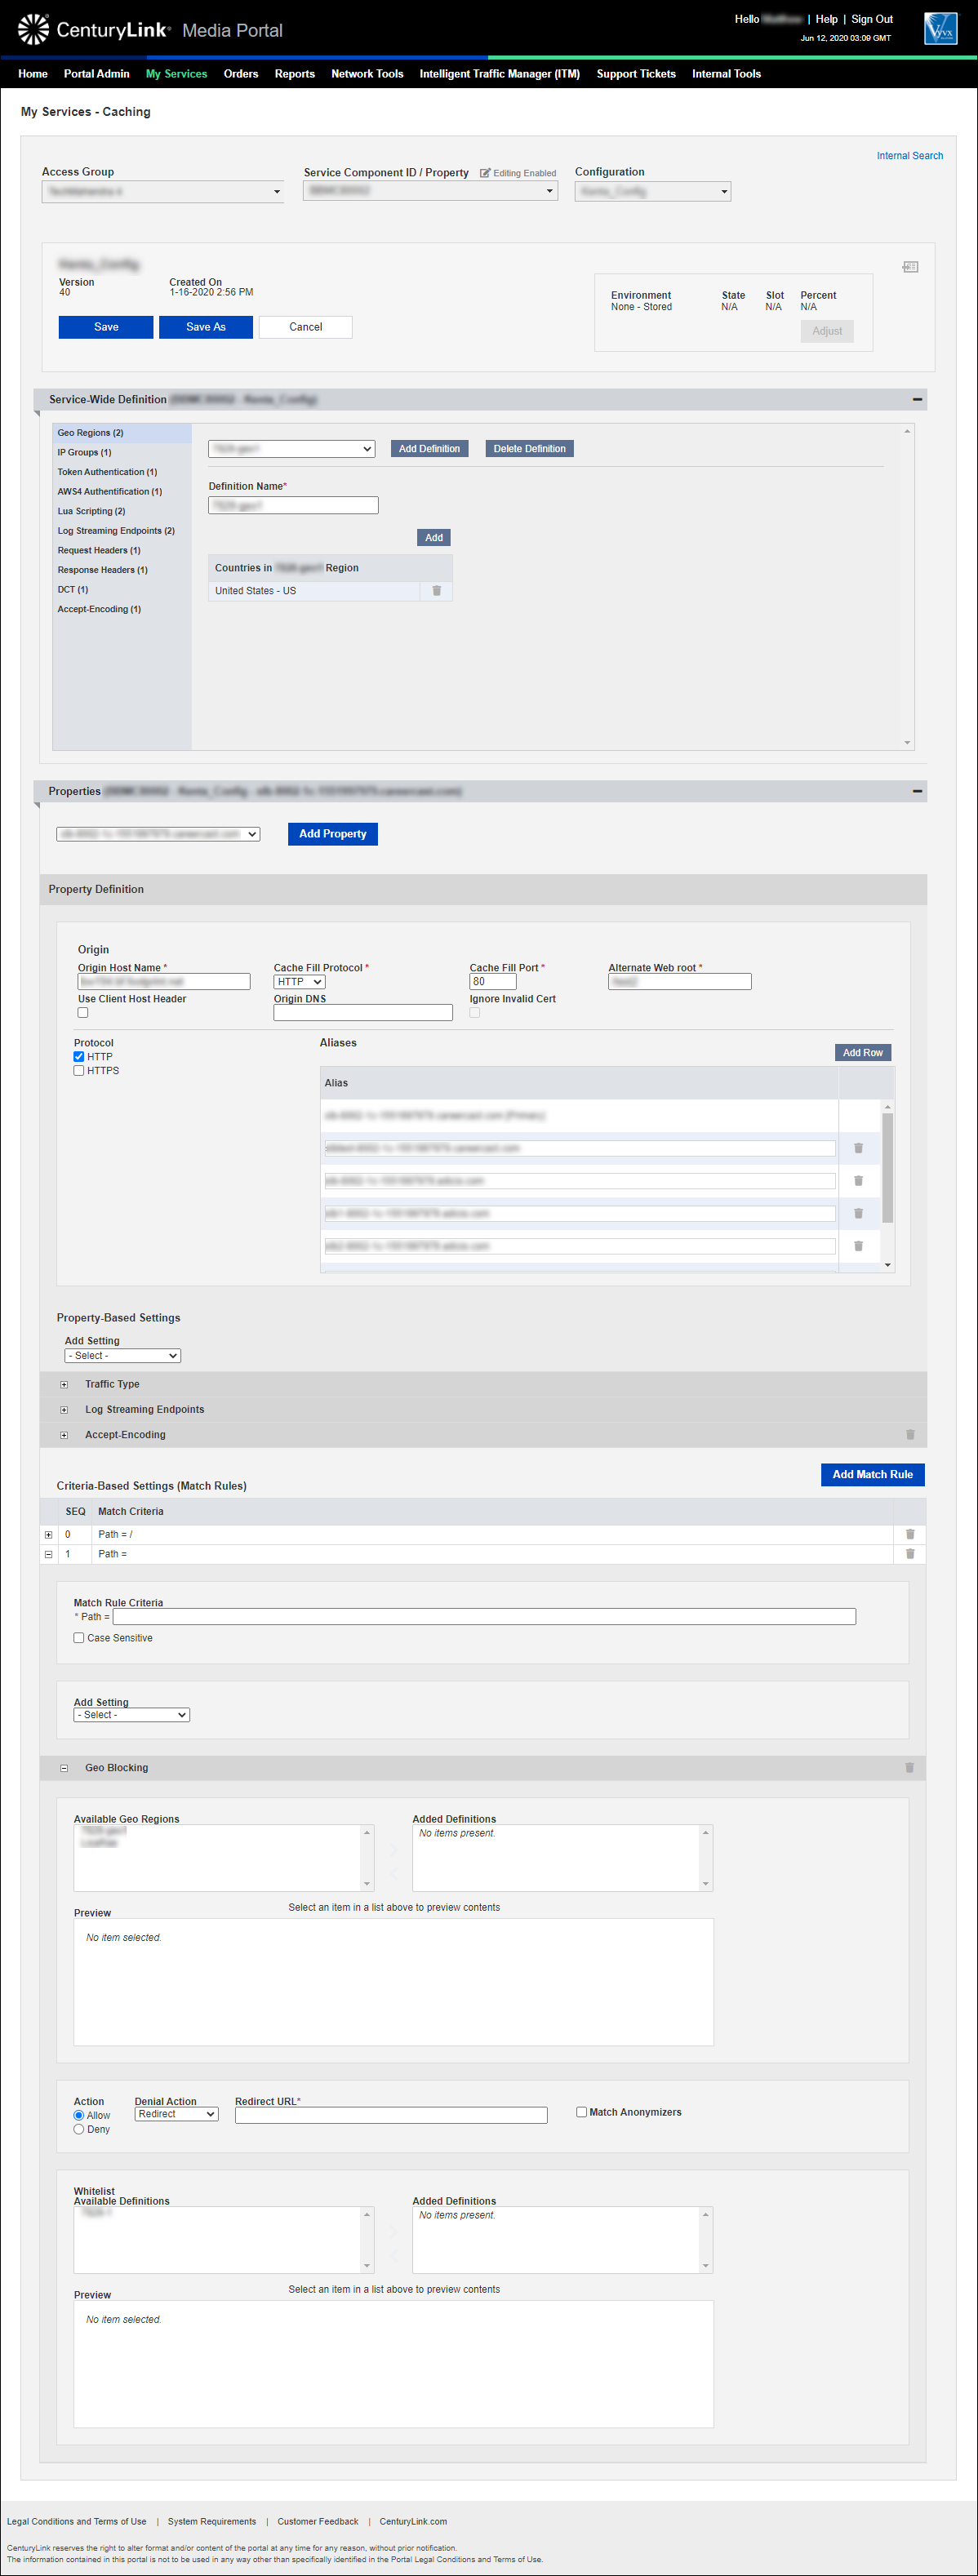
- In the Available Definitions section, select one or more definitions you want to apply to this directive.
- Click the right arrow to move the definition(s) to the Added Definitions section. (To remove a definition from the directive, select it in the Added Definitions section and click the left arrow).
- Select the radio button for action you want the CDN to take when the match is made: Allow or Deny.
- If you selected Deny, select whether you want to display an error or to redirect the request. If you select Redirect, type the destination in the Redirect URL field.
- If you need to whitelist IP addresses, select one or more IP-group definitions you want to whitelist in the Available Definitions section.
- Click the right arrow to move the definition(s) to the Added Definitions section. (To remove a definition from the whitelist, select it in the Added Definitions section and click the left arrow).
- From the Add Settings list, select IP Blocking.
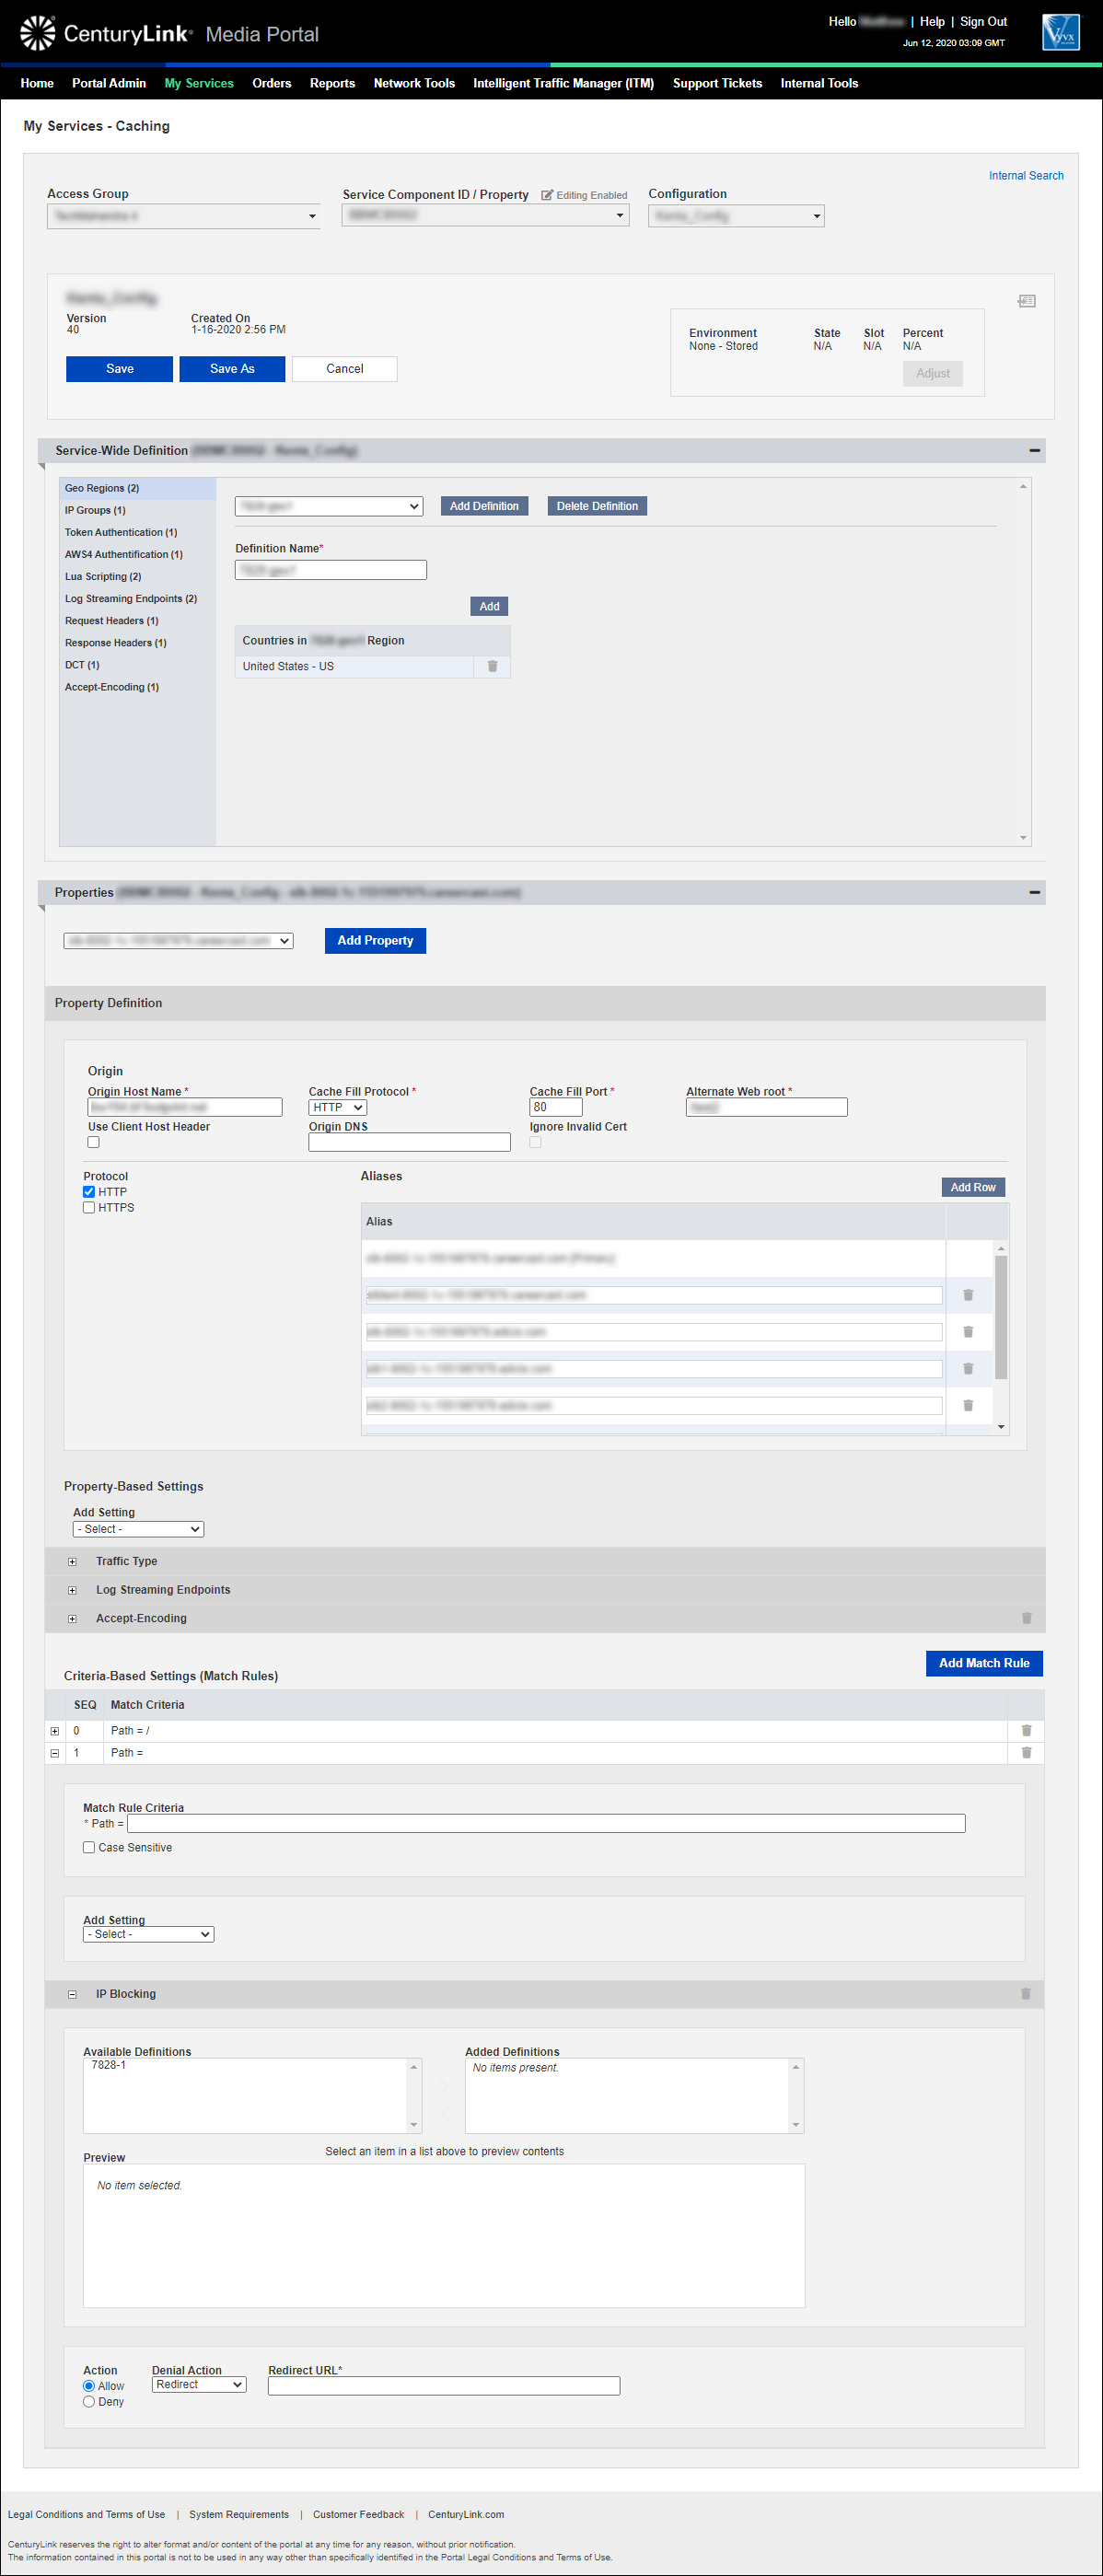
- In the Available Definitions section, select one or more definitions you want to apply to this directive.
- Click the right arrow to move the definition(s) to the Added Definitions section. (To remove a definition from the directive, select it in the Added Definitions section and click the left arrow).
- Select the radio button for action you want the CDN to take when the match is made: Allow or Deny.
- If you selected Deny, select whether you want to display an error or to redirect the request. If you select Redirect, type the destination in the Redirect URL field.
- From the Add Settings list, select Lua Scripting.
- In the Available Definitions section, select one or more definitions you want to apply to this directive.
- Click the right arrow to move the definition(s) to the Added Definitions section. (To remove a definition from the directive, select it in the Added Definitions section and click the left arrow).
- From the Add Settings list, select Query String Handling.

- Select the radio button for how to process query strings: Honor or Ignore.
Use a request-headers directive to tell the CDN when (and which) custom HTTP request header definition to send upstream to the origin.
- From the Add Settings list, select Request Headers.

- In the Available Definitions section, select one or more definitions you want to apply to this directive.
- Click the right arrow to move the definition(s) to the Added Definitions section. (To remove a definition from the directive, select it in the Added Definitions section and click the left arrow).
Use a response-headers directive to tell the CDN when (and which) custom HTTP response header definition to use.
- From the Add Settings list, select Response Headers.
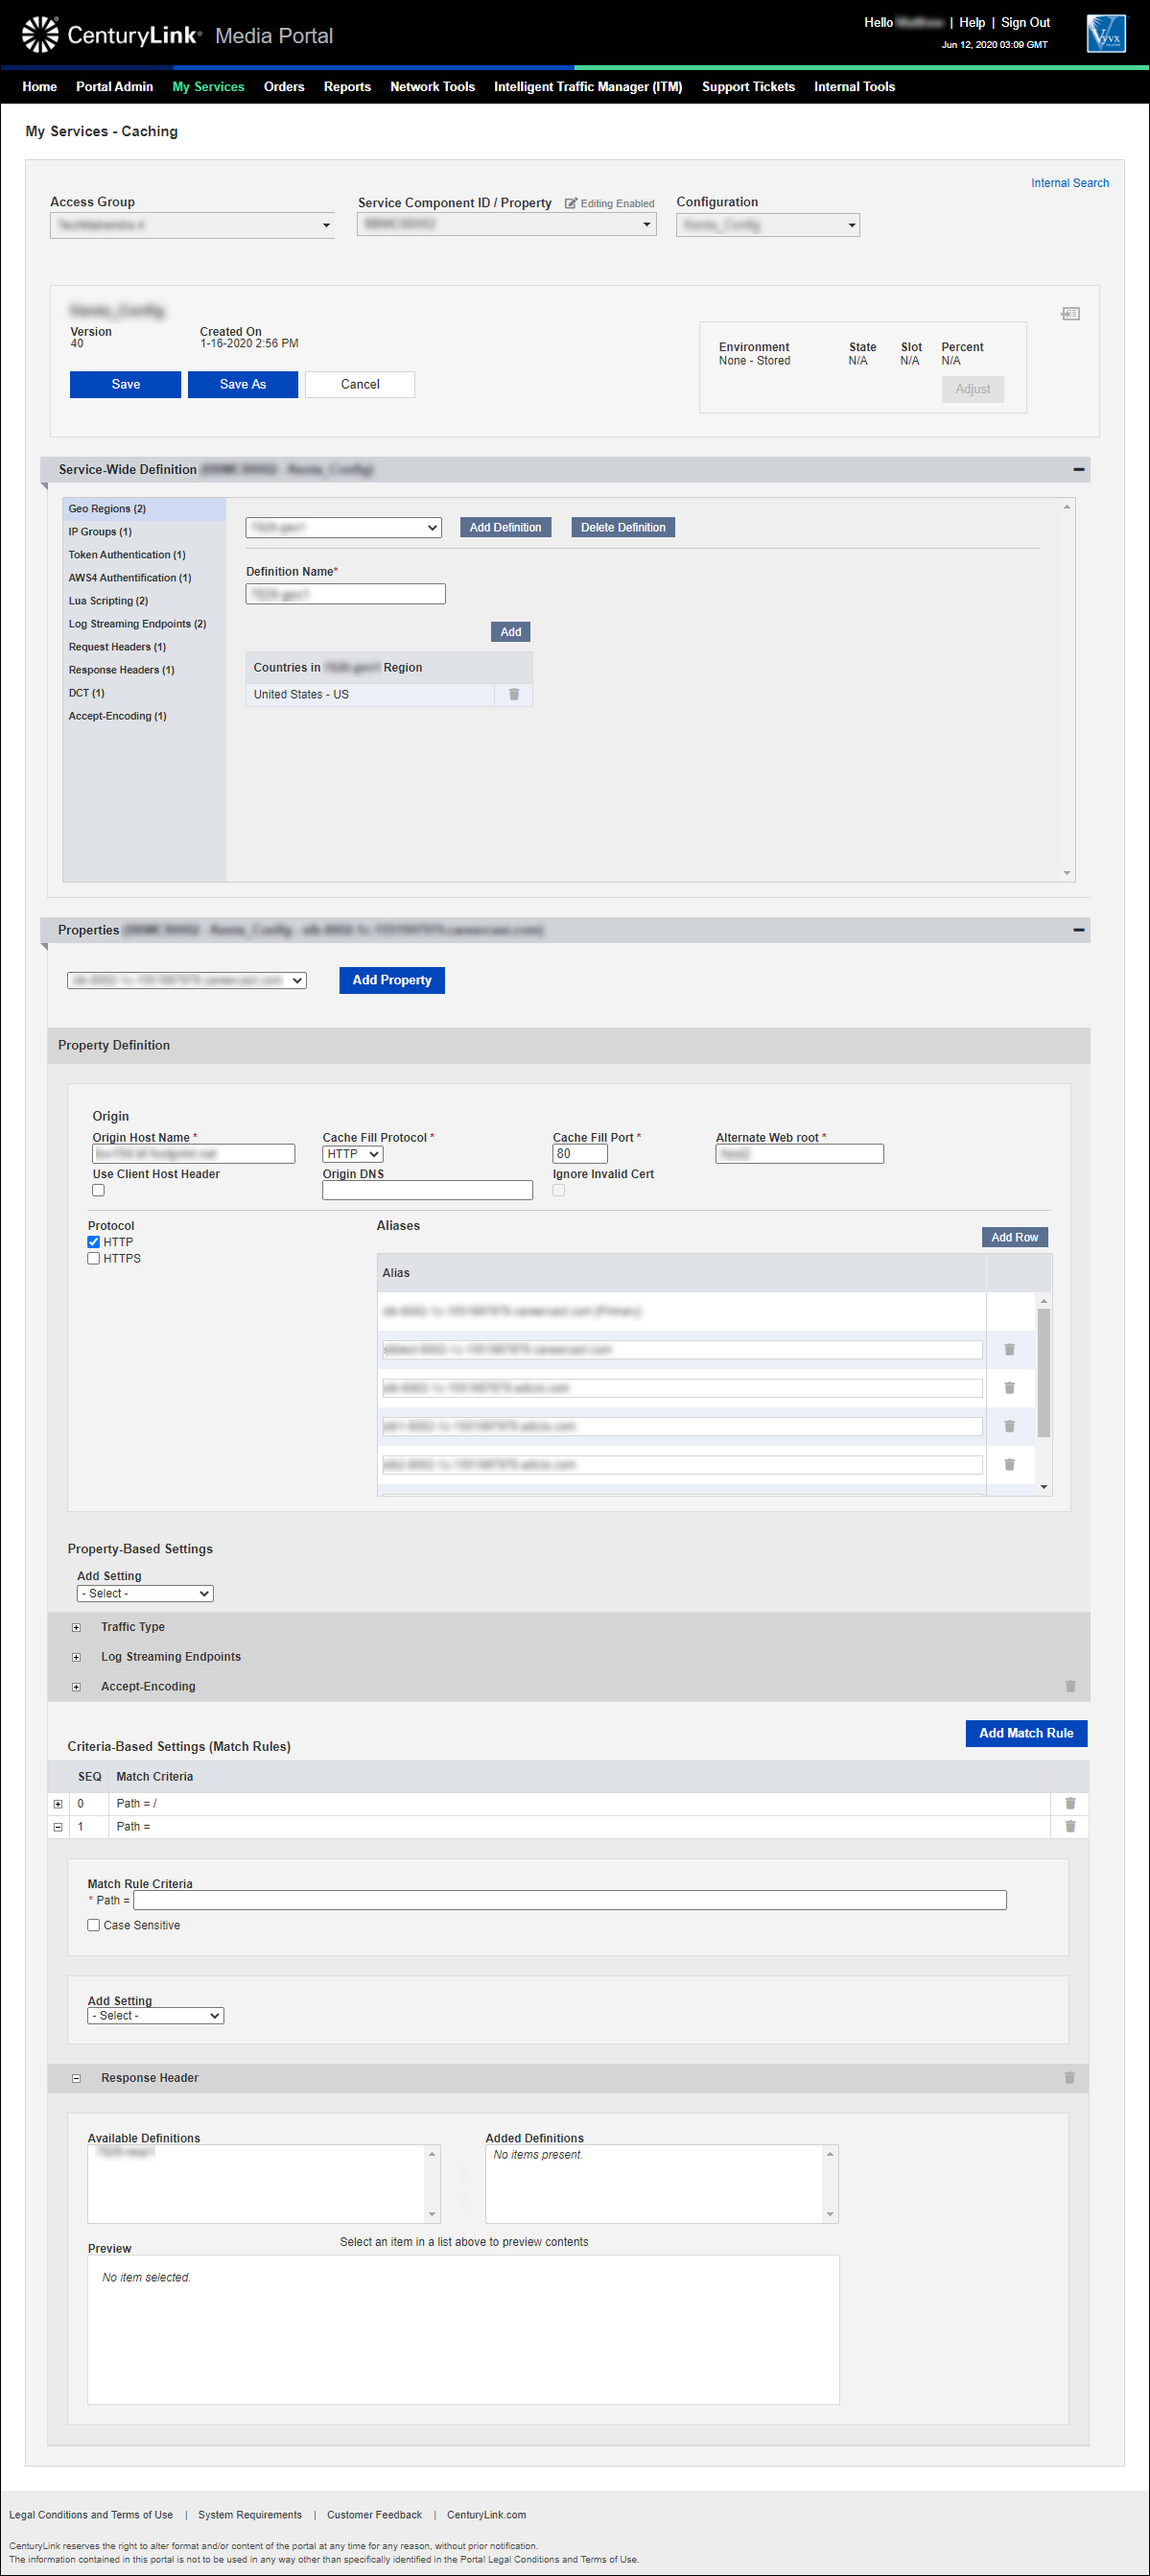
- In the Available Definitions section, select one or more definitions you want to apply to this directive.
- Click the right arrow to move the definition(s) to the Added Definitions section. (To remove a definition from the directive, select it in the Added Definitions section and click the left arrow).
Use a secure-fill directive to configure full, end-to-end secure fill of your content. (By default, all intra-CDN communication is not secured (over HTTP), regardless of the client protocol and origin fill policy.)
- From the Add Settings list, select Secure Fill.
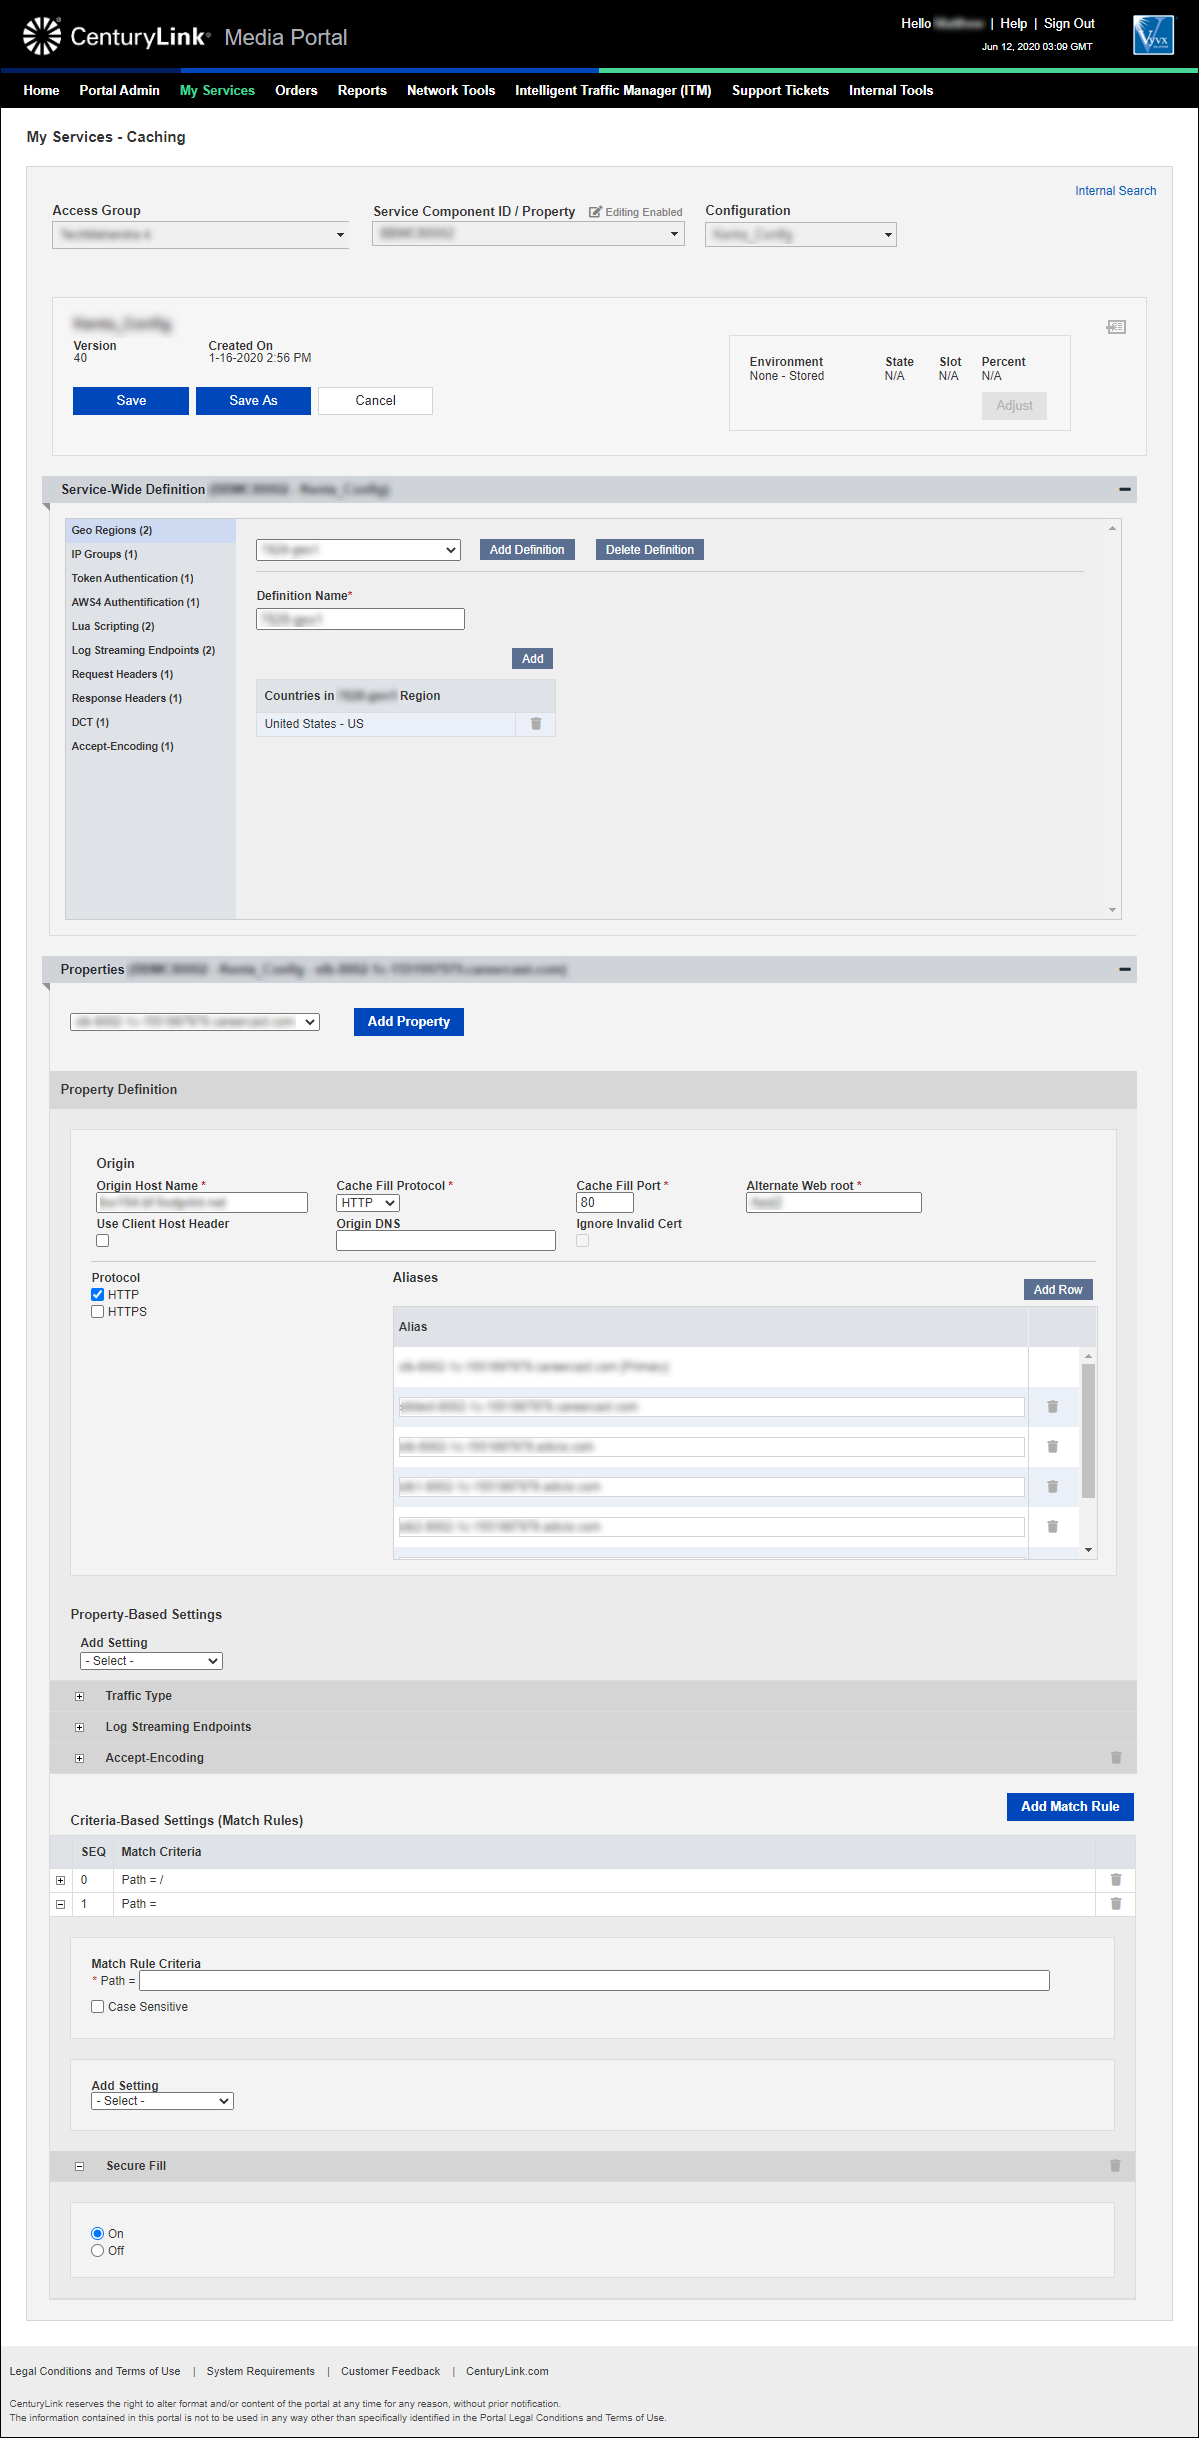
- Select whether to turn secure fill on or off when the path is met.
- From the Add Settings list, select Stale Content Control.

- If you want the CDN to immediately return a stale response while it revalidates the stale content in the background, click the stale-while-revalidate checkbox. (When you click the checkbox, the CDN returns cached, but stale, content to the client while revalidating the object in the background for the next request.)
- If you want the CDN to return a stale response when it receives an error (such as a 500 Internal Server Error or DNS failure), click the stale-if-error checkbox, then select the checkbox for types of errors you want this to apply for: 4xx errors, 5xx errors, or both.
- From the Add Settings list, select Token Authentication.

- In the Available Definitions section, select one or more definitions you want to apply to this directive.
- Click the right arrow to move the definition(s) to the Added Definitions section. (To remove a definition from the directive, select it in the Added Definitions section and click the left arrow).
- Repeat step 6 to add additional match rules.
- If you need to edit or add other definitions or properties, continue editing the configuration without saving. (Saving the configuration creates a new version.) When you're done editing the configuration, continue with step 9.
- Click Save (above the Service-Wide Definition section). You can also click Save As to save the configuration under a new name.
- If needed, add any notes to describe the changes you made.
- Click Save again.
Media portal saves the configuration.
Learn more about
Media portal
Explore Media portal
Top Media portal articles
- Adding a configuration
- Adding a match rule to a configuration
- Adding a property to a configuration
- Adding a token authentication definition to a configuration
- Promoting a configuration to an environment
- Adding a new certificate
- Editing a configuration
- Adding a DCT definition to a configuration
- Viewing CName information for aliases on a configuration
- Adding an accept encoding definition to a configuration
- Topics covered on this page: